

It is March, and we are all all set to transition into Spring. For me, element of that transition is the jewellery I wear–the heavier, darker jewelry will make way for lighter and brighter components. With this in mind, right here is a pleasurable and colourful acquire on the regular bolo tie, but manufactured with dyed silk ribbons and flat-again cameo cabochons. The undertaking assembles pretty rapidly, so you way too can be prepared to welcome Spring!
All set, established, make!
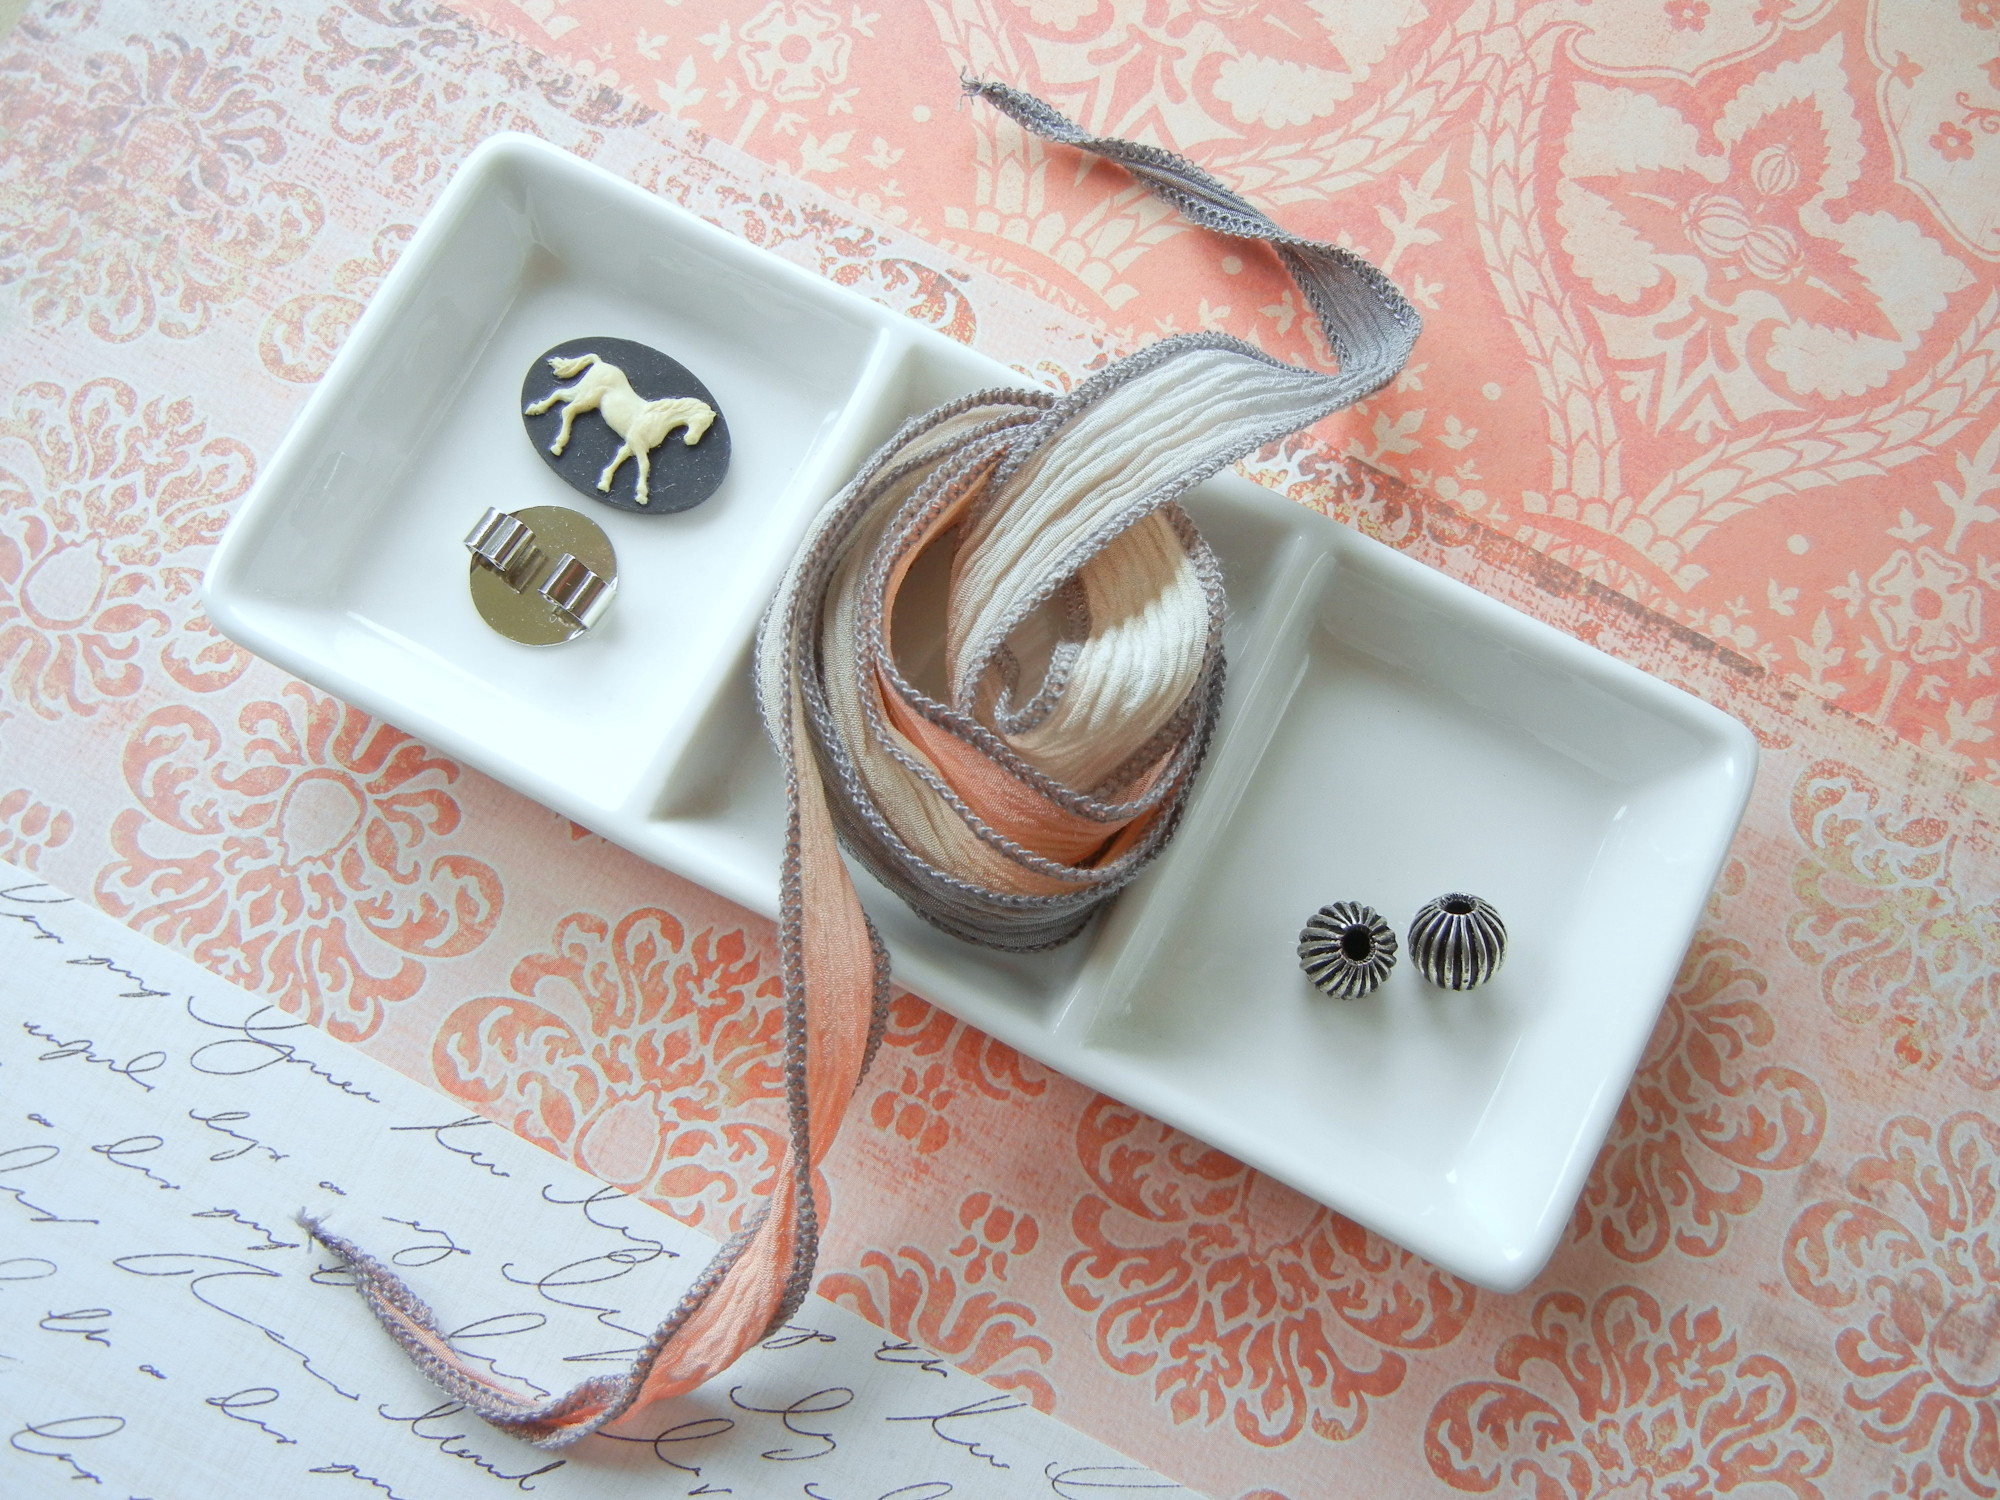
You will need to have these supplies:
Tools:
Other materials:
- disposable gluing surface area (paper plate)
- stir-stick applicator (tooth decide on)
- aluminum foil
- paper towels
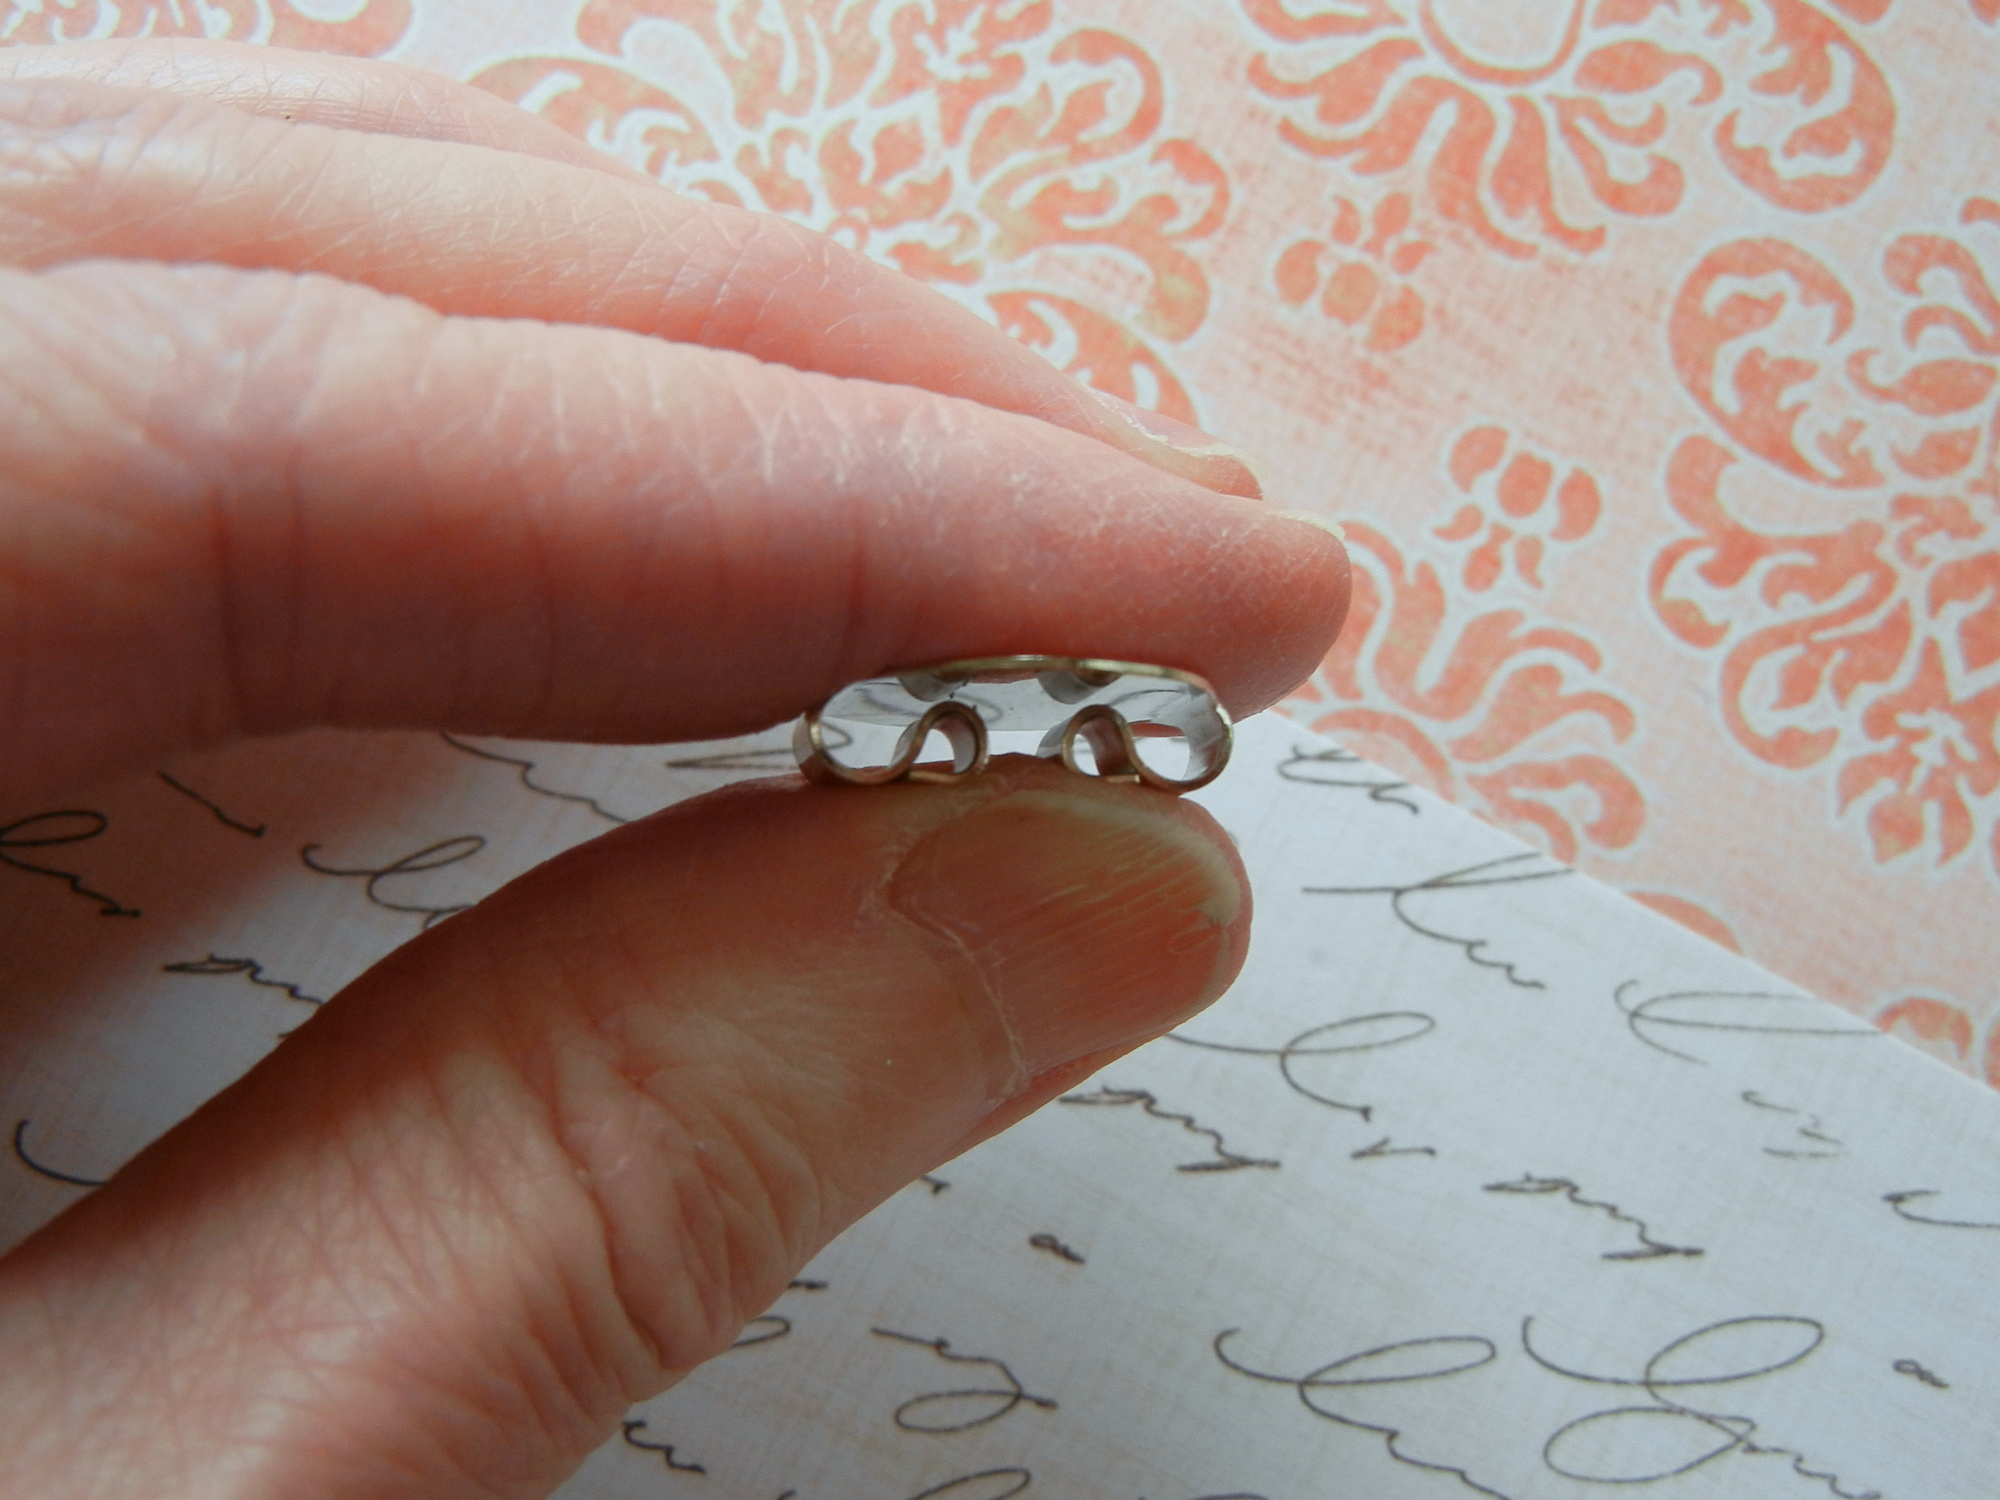
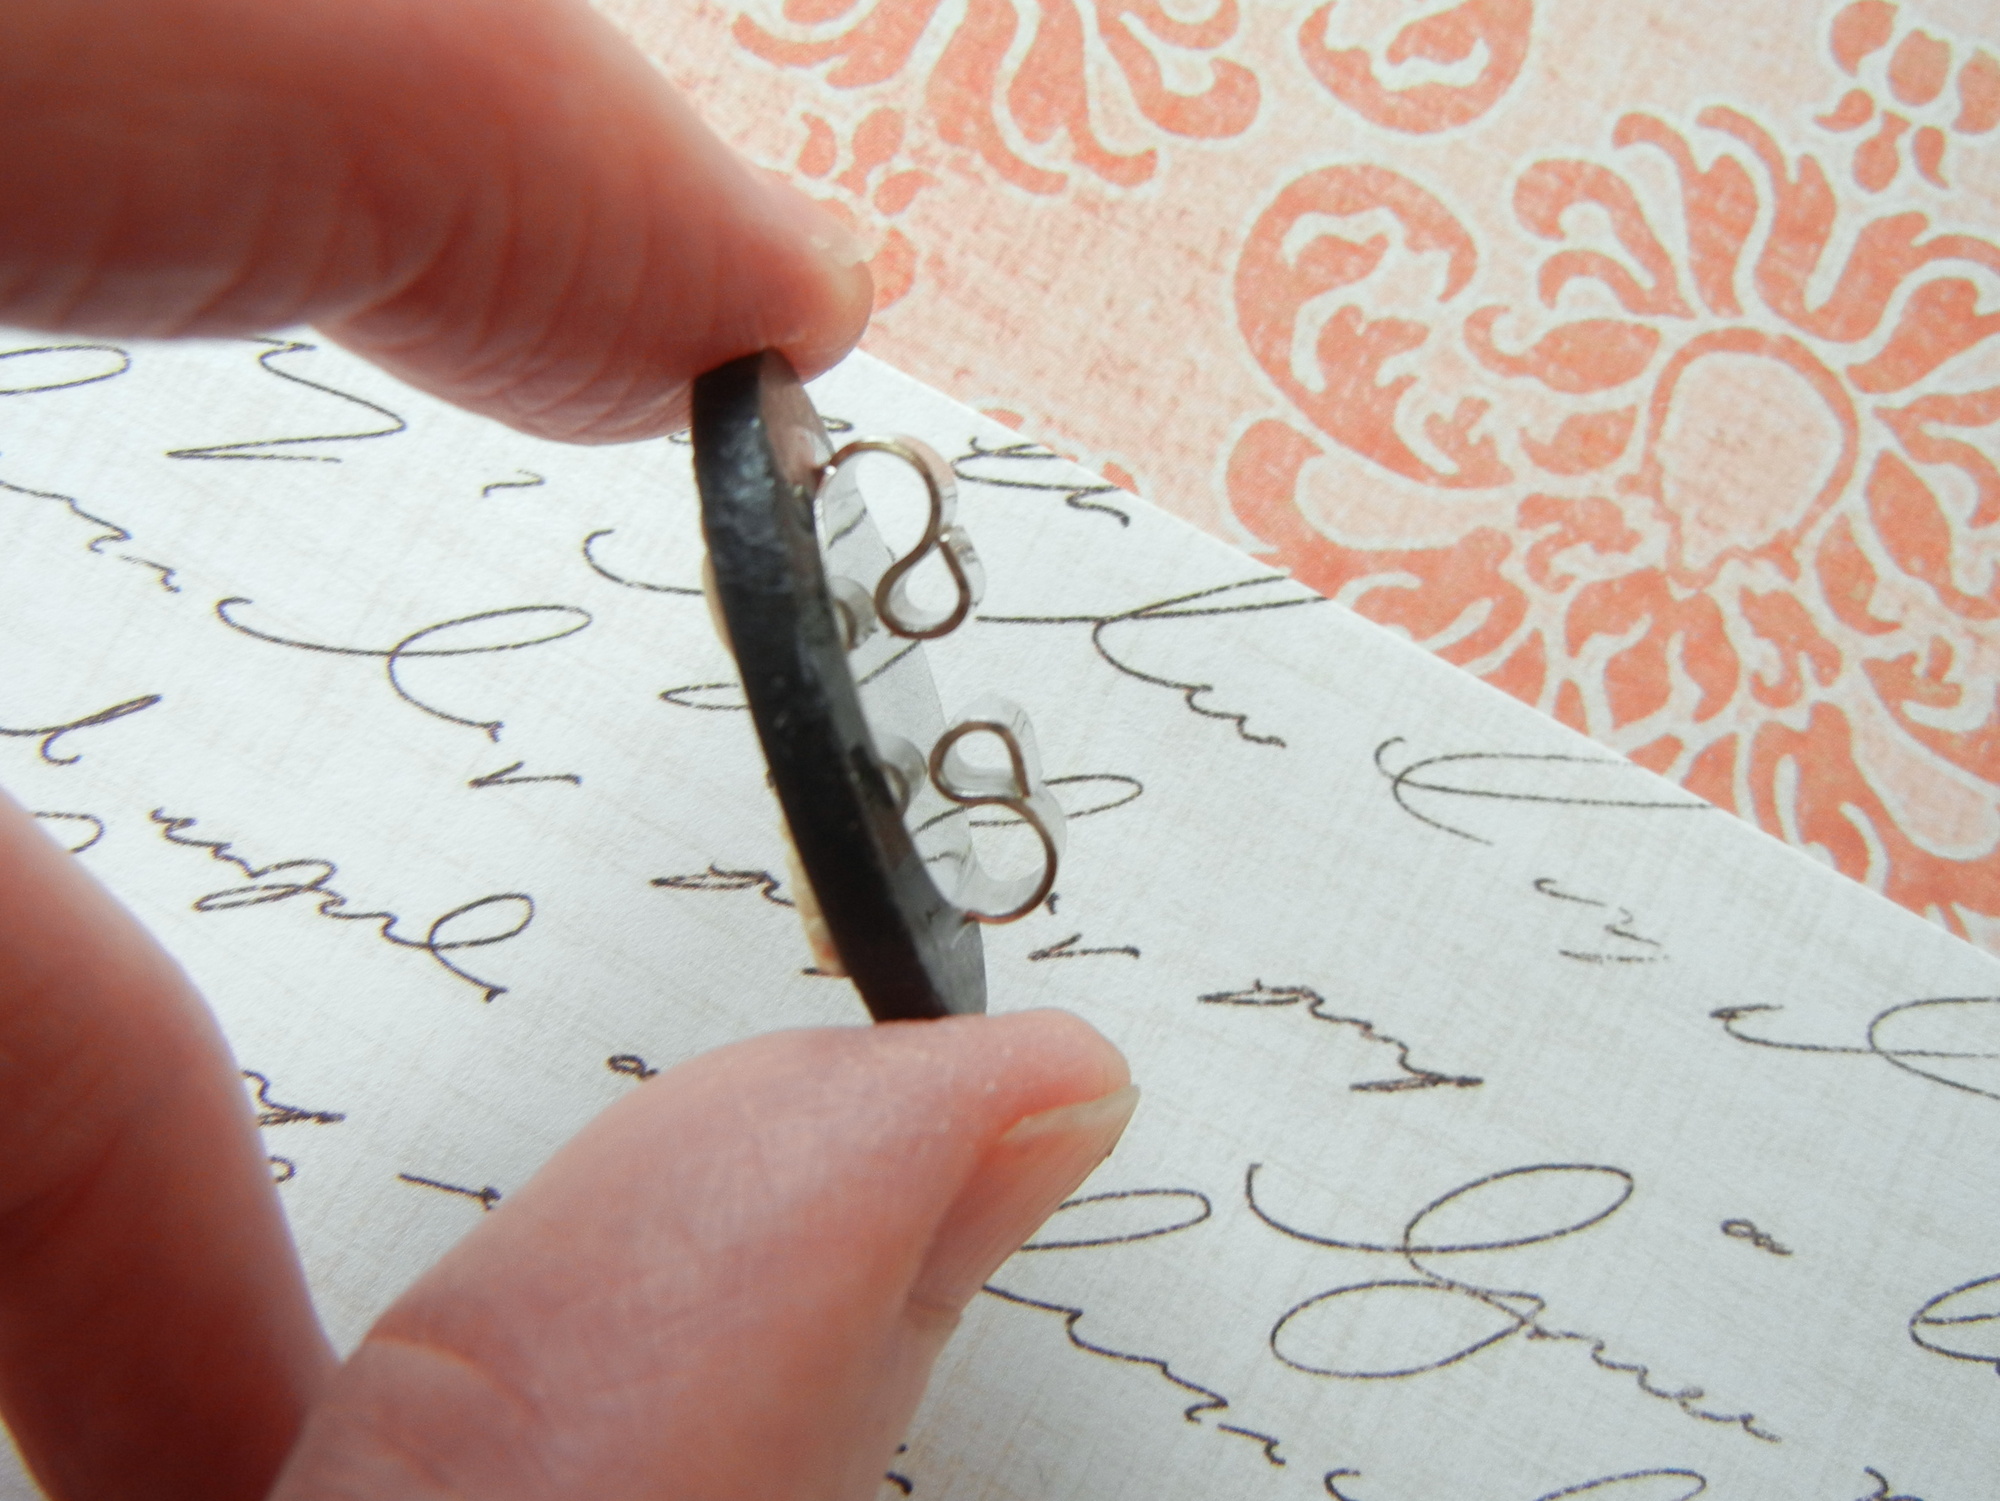
Most bolo cord is approximately 3mm+ in diameter, and bolo slide findings appear all set to accommodate the dimensions. Since the silk ribbon is thinner, you will will need to pinch the bolo back to lessen the wire opening sizing. For steadiness of the glue be part of, it is most effective to do this prior to forever attaching the bolo back to the cameo.
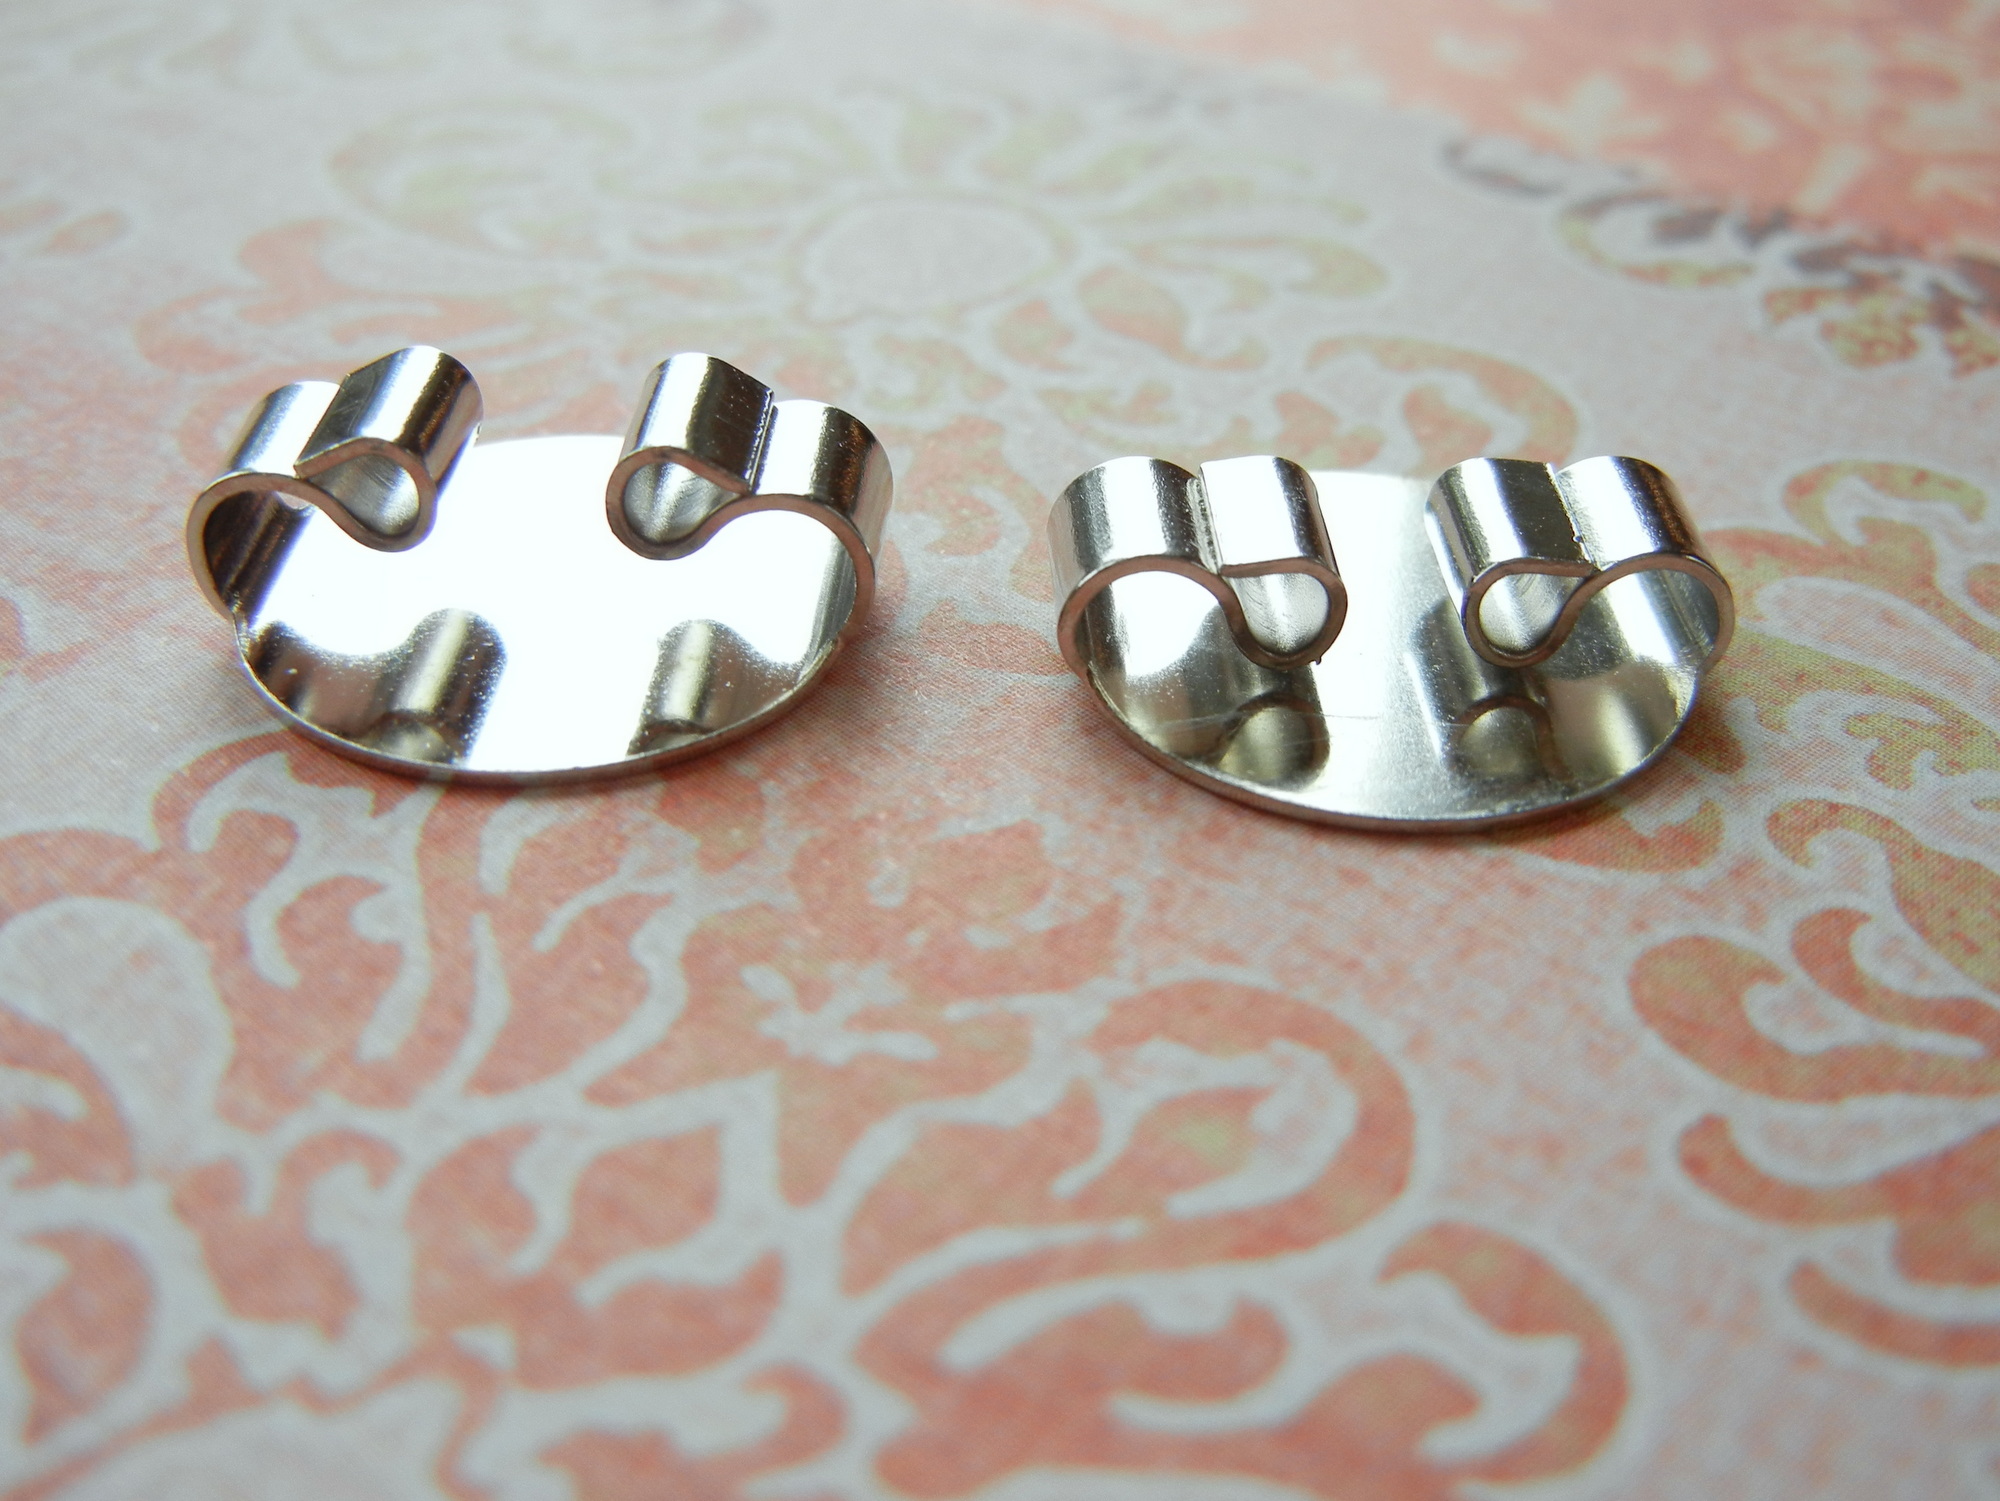
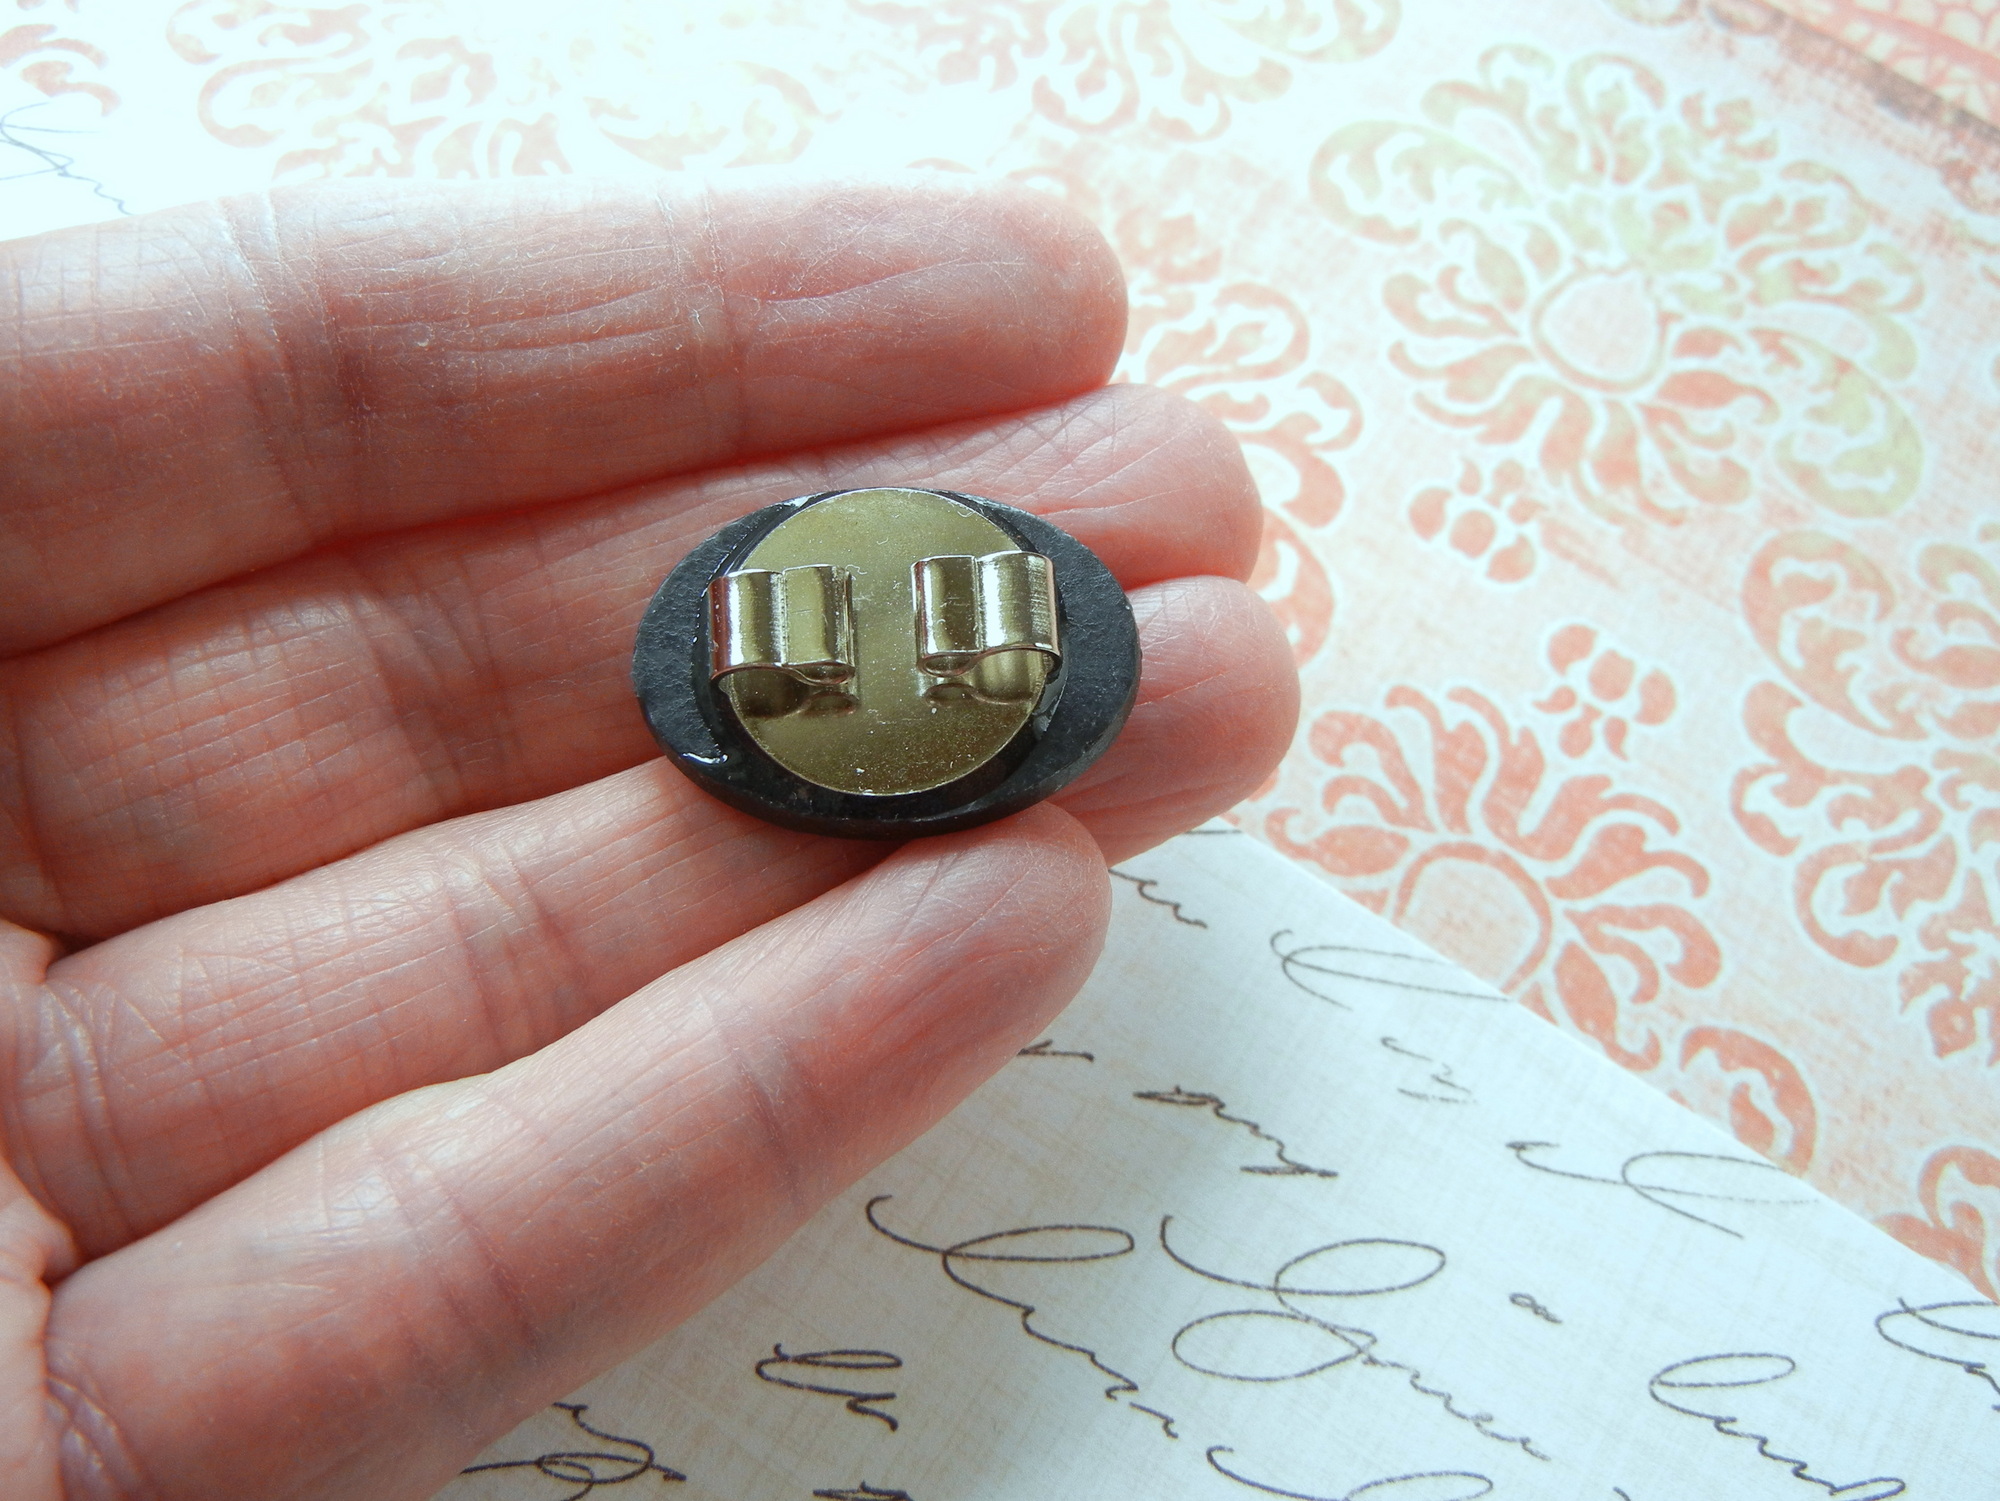
Listed here is a “before and after” image of the bolo slide locating. If you have difficulty changing the bolo getting by pinching, you can use nylon-jaw pliers. The jaws of nylon-jaw pliers will not scratch steel jewelry conclusions as common metal pliers do.
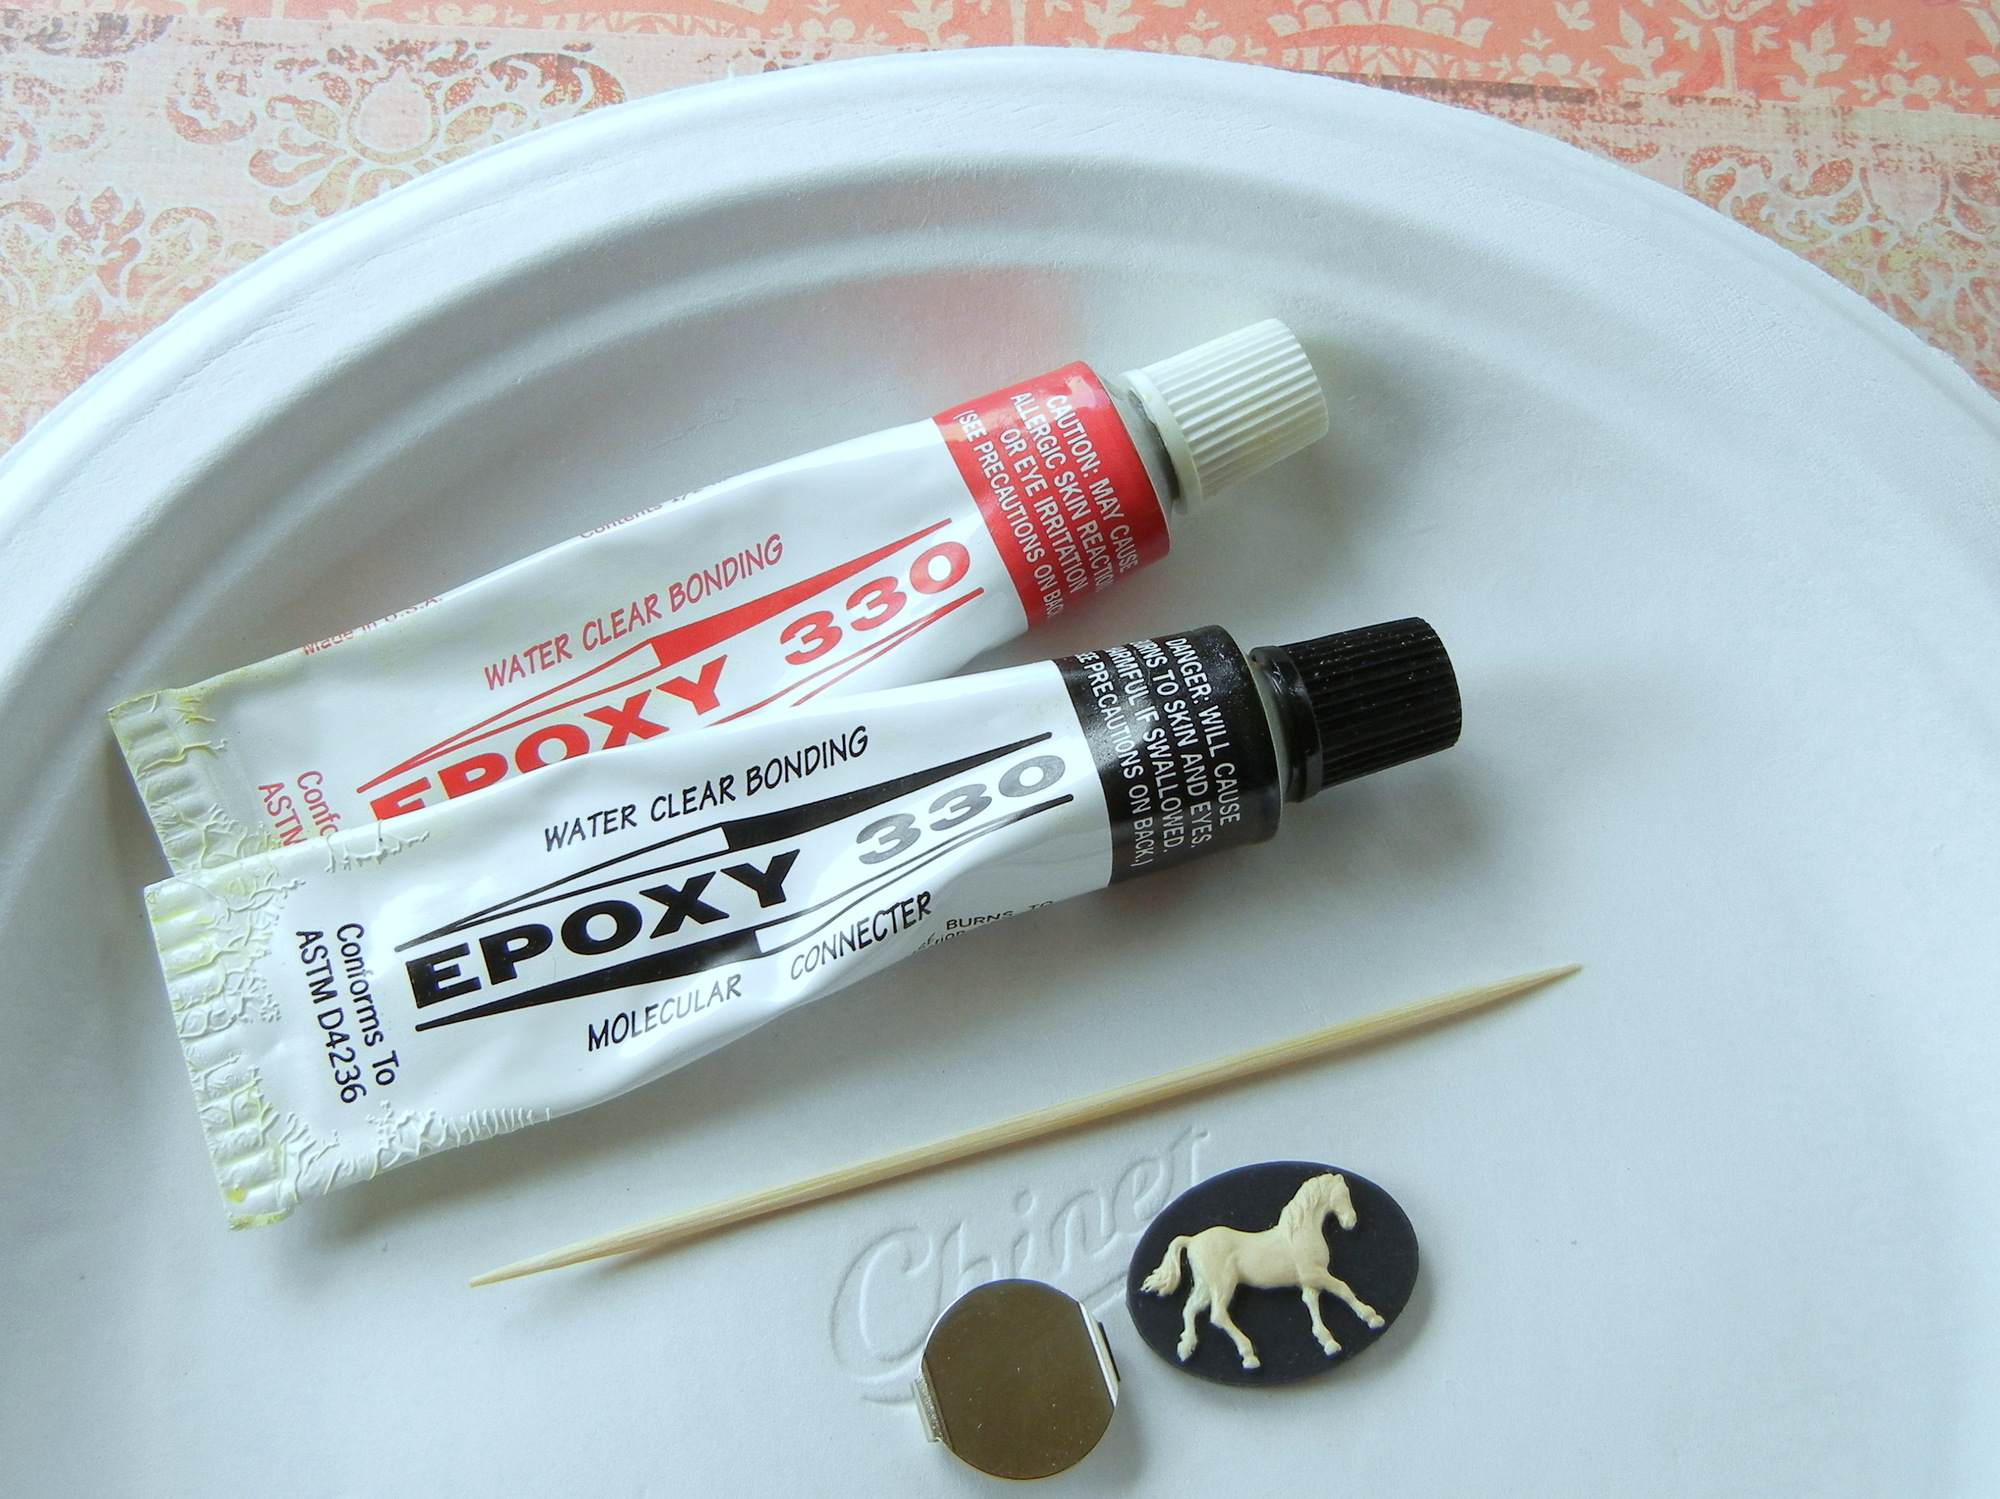
In jewellery-making, glue is a “cold connection” that holds various aspects jointly. This undertaking brings together the plated brass bolo back with the plastic cameo cabochon, so a glue that will do the job with each elements is the important to achievements. I selected my favorite jewelry adhesive, two-portion epoxy. Two-component epoxy will work with most non-porous surfaces.
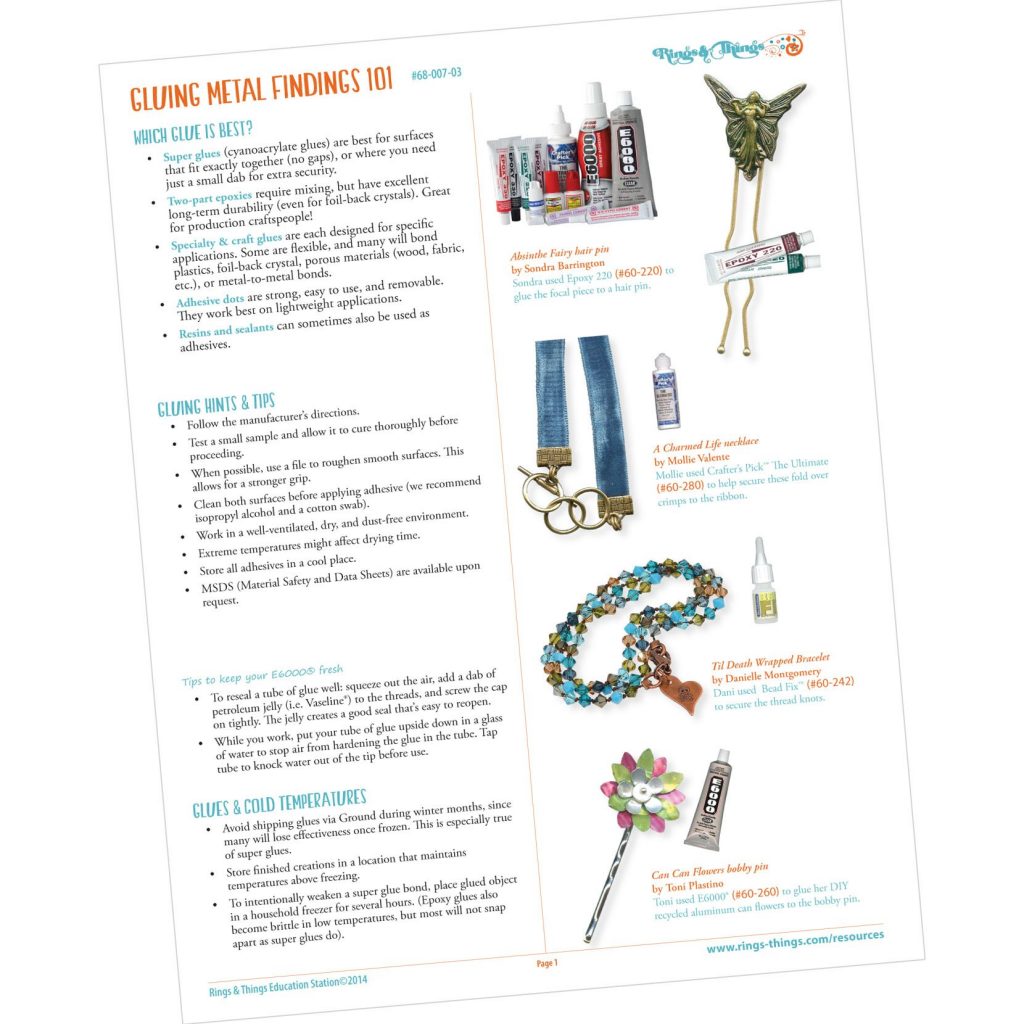
Gluing Metal Conclusions 101
A absolutely free printable pdf featuring valuable gluing hints and tips from Rings & Matters. And don’t ignore the glue.
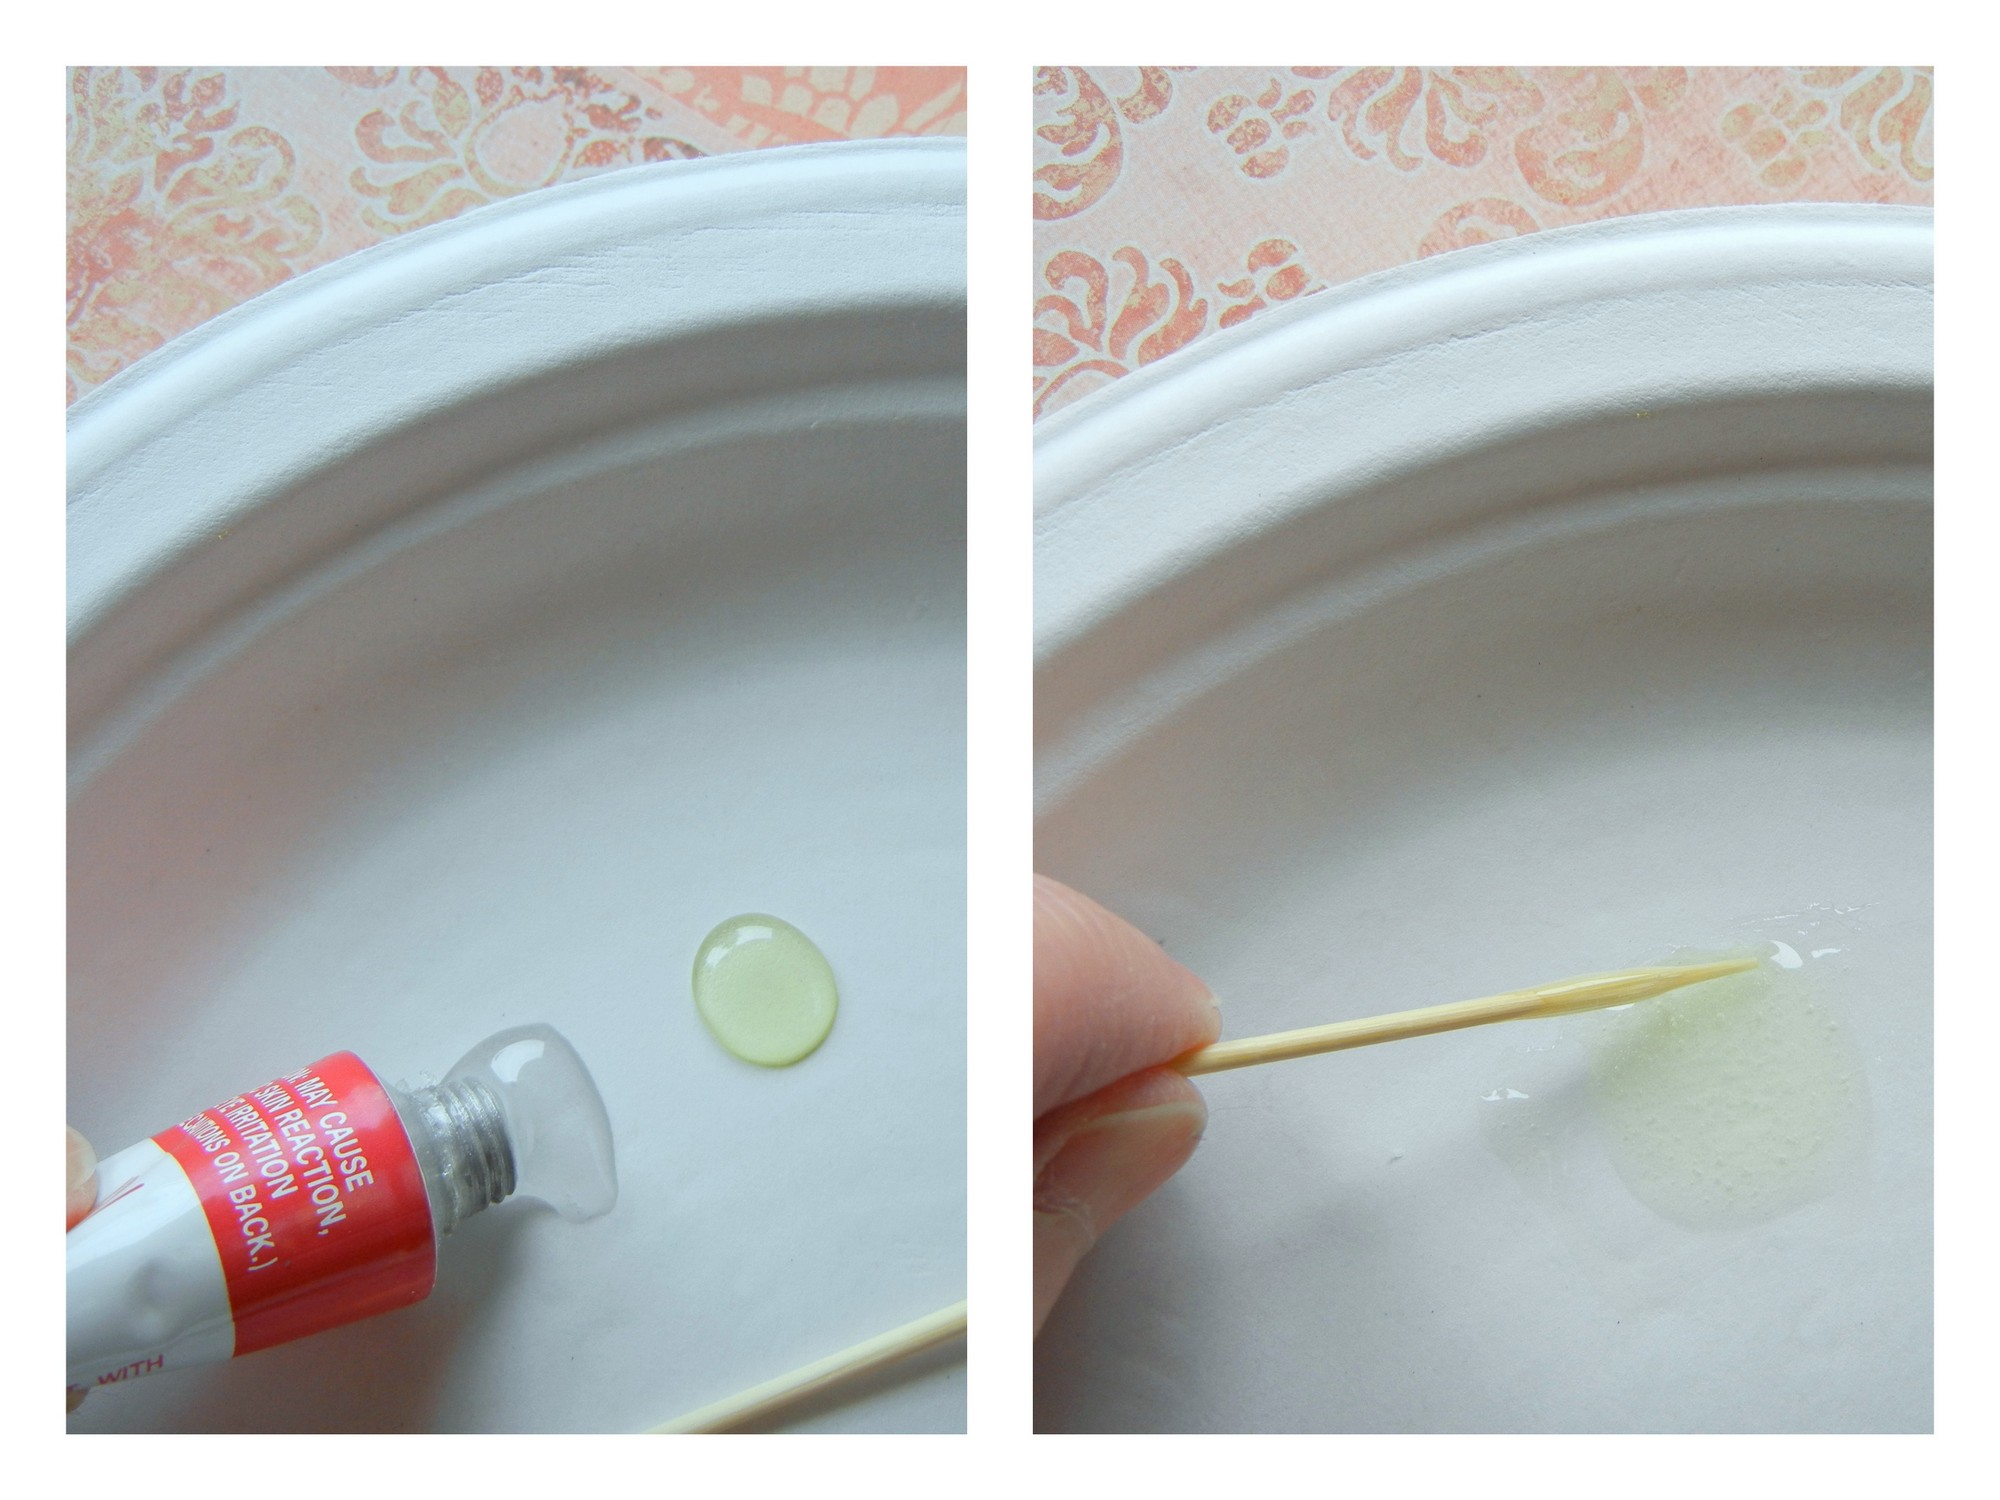
Epoxy glues variety sturdy bonds. Most epoxy products and solutions, like Epoxy 330, instruct you to mix equivalent parts of resin and hardener. Carefully stir the adhesive until combined refer to the directions that come with your brand name of adhesive.

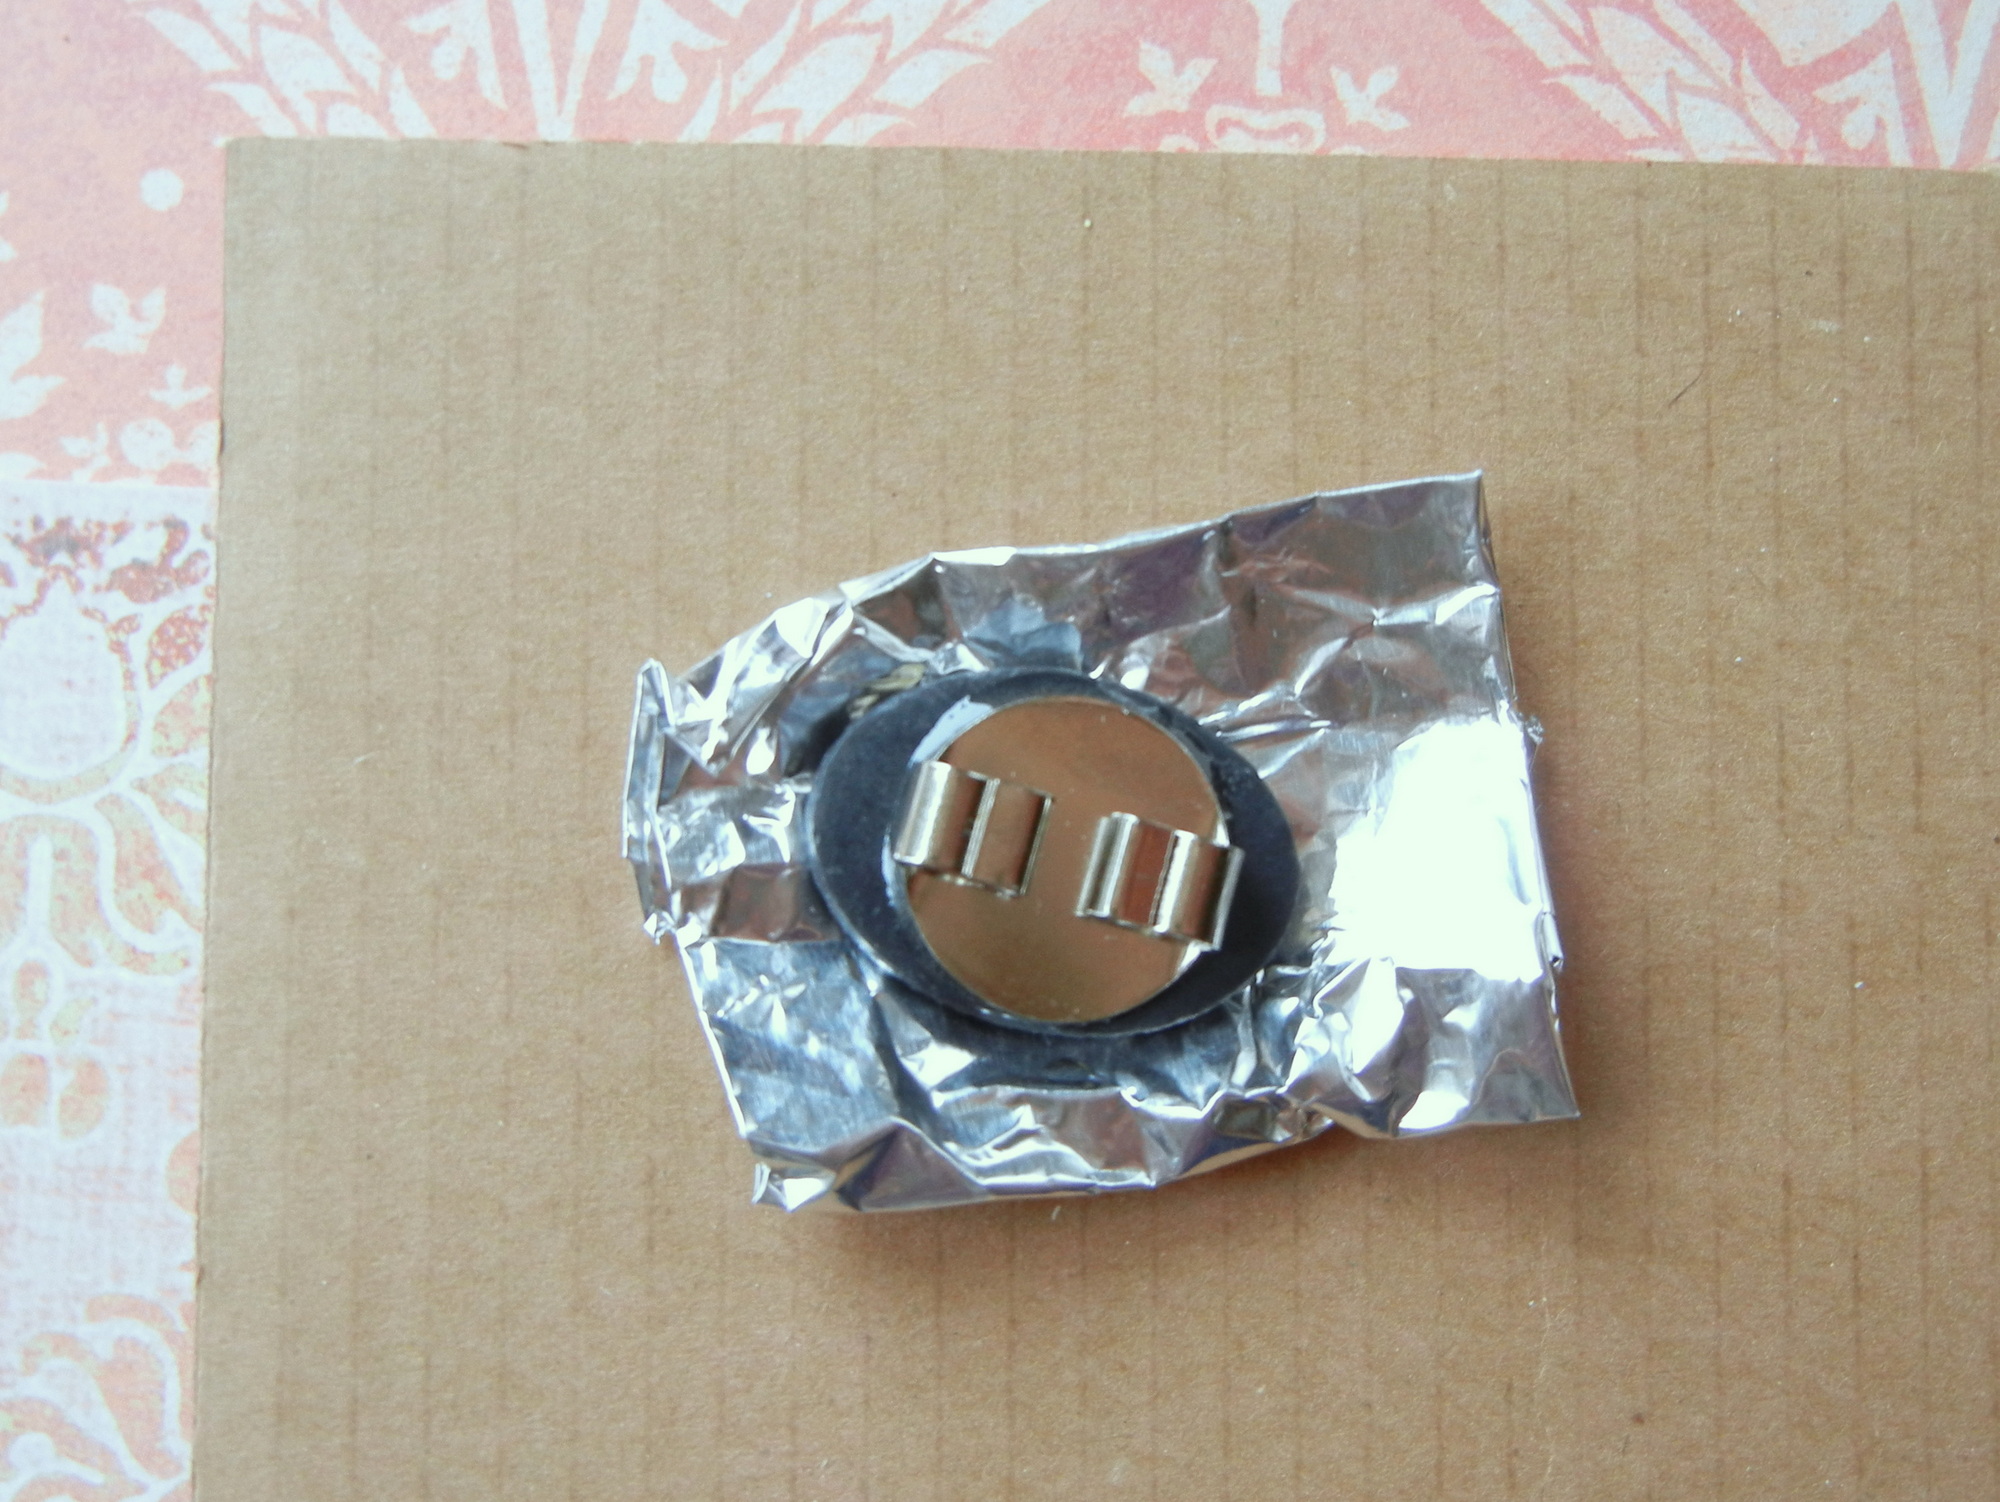
In advance of beginning, make certain your pieces are clean and dry. Then use a dab of glue to the backside of the bolo slide acquiring and unfold it evenly. The features on the facial area aspect of the cameo have a very low aid that stops them from sitting level on a countertop. I like to use a piece of scrunched-up foil to assist the cameo and maintain it as degree as doable.
Position the glued cameo apart in a heat area to established and treatment. The adhesive starts off to established up just after about 15 minutes and cures in about 2 several hours. I like to retain an eye on the glued piece right up until it sets–if the cameo is not degree, the bolo slide finding can change and have to have repositioning. Once the adhesive sets, it won’t be a dilemma.
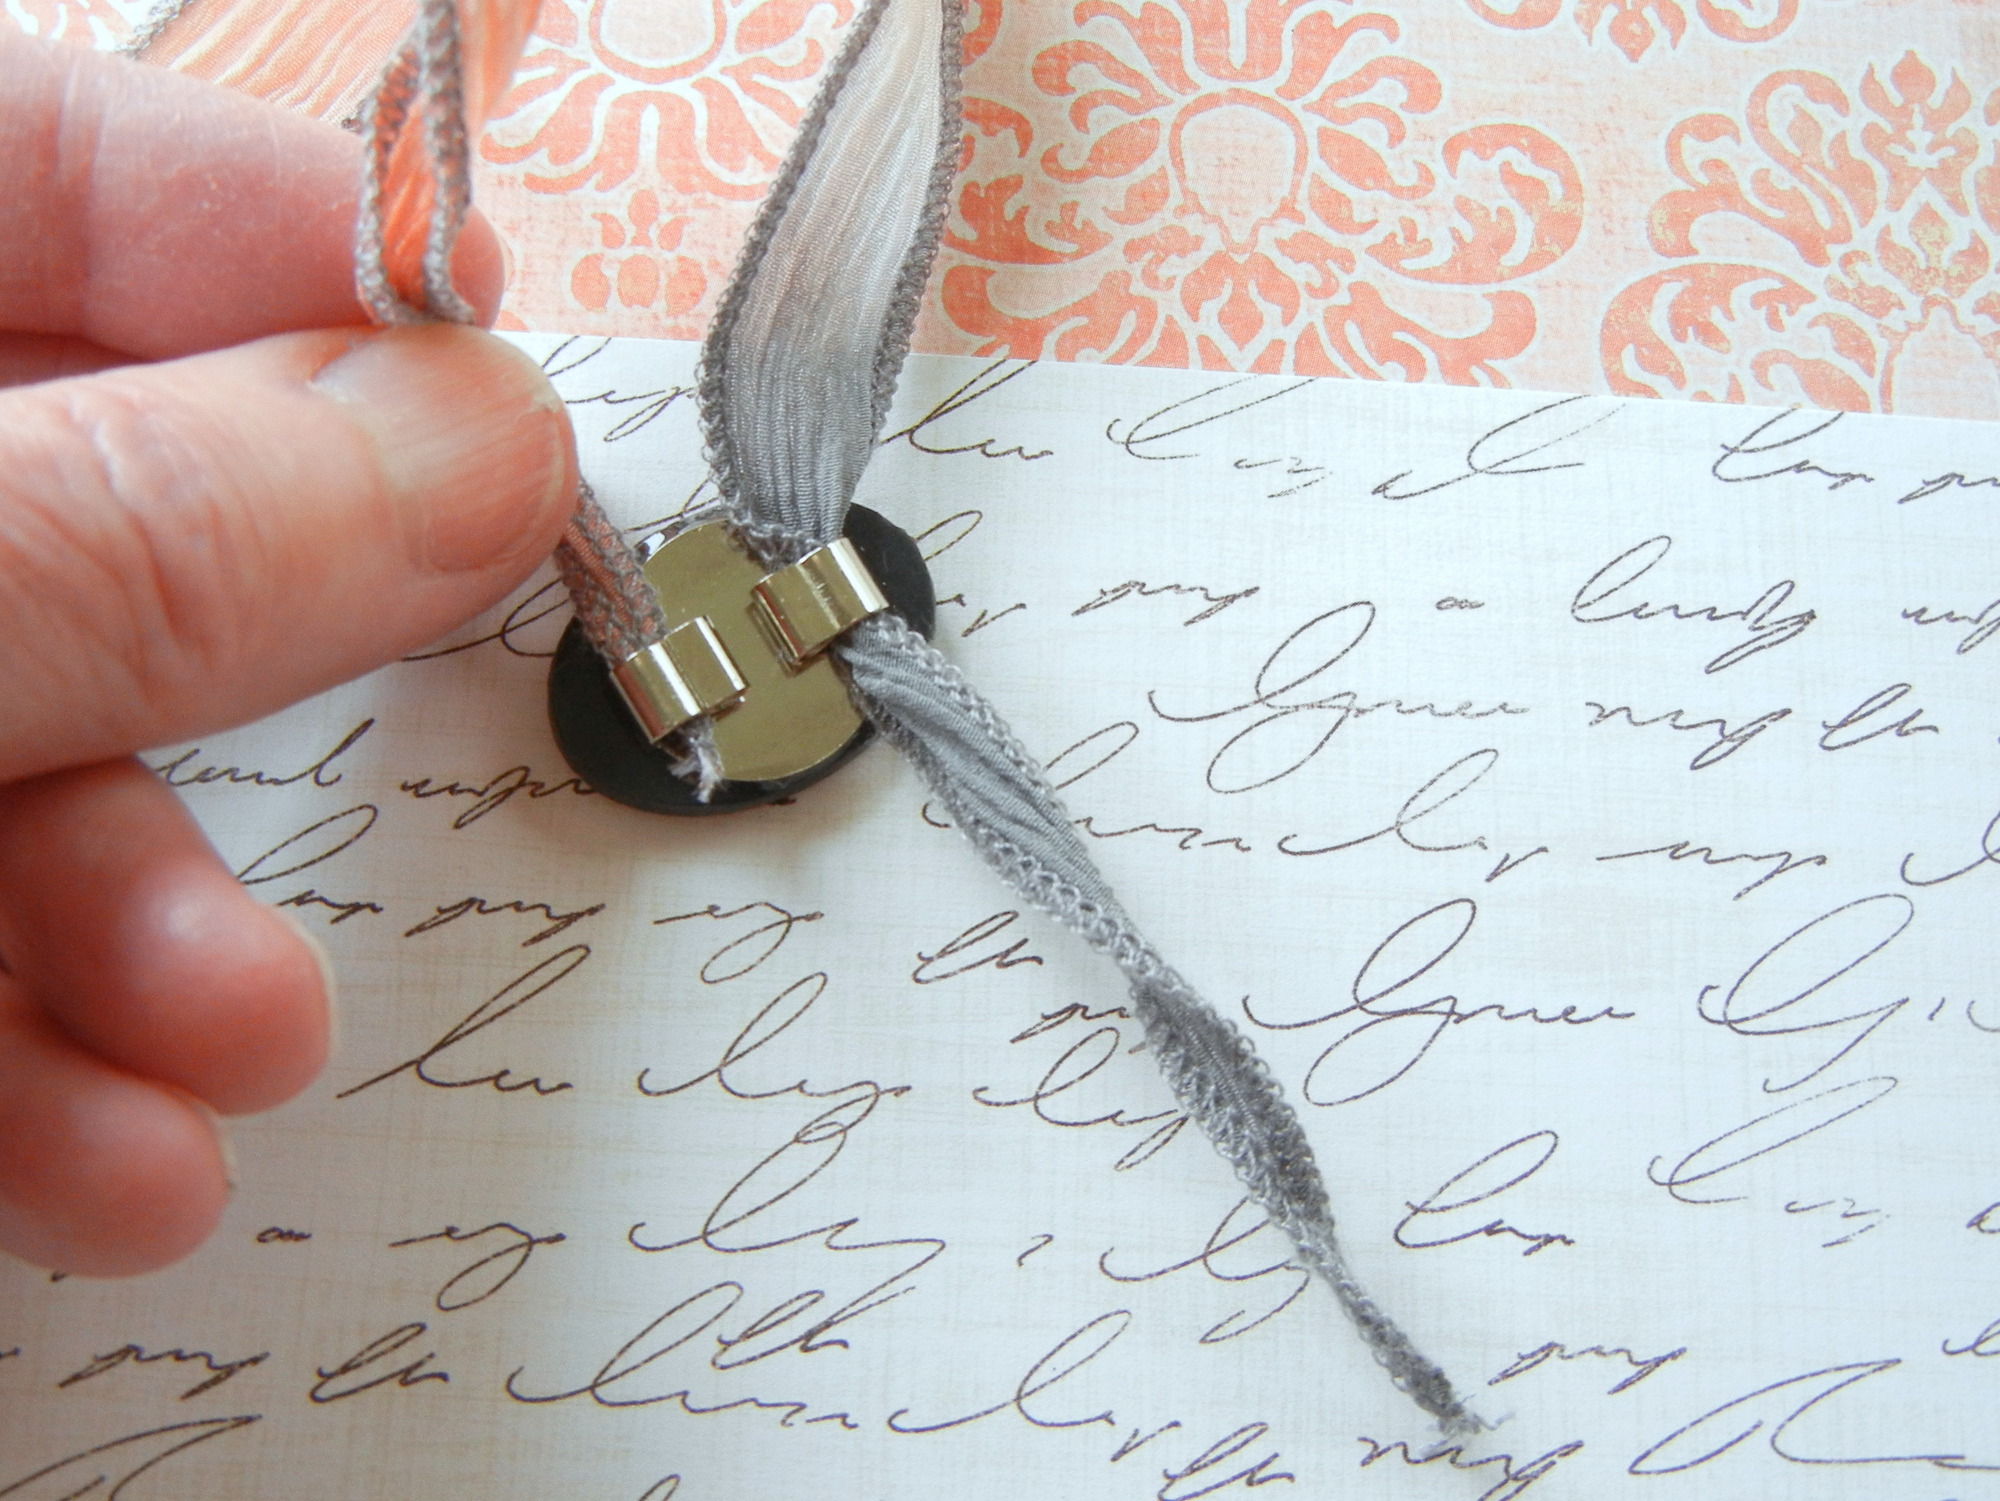
The two-element epoxy 330 adhesive dries crystal clear. This bolo focal piece is all set for finishing.
The bolo slide obtaining can be complicated with its extra tube-like holes. Use the massive and outer tube-like holes for stringing the ribbon by way of.
String the ribbon through one particular side of the bolo slide acquiring. Then straighten the ribbon to clear away any twists and string the next ribbon stop as a result of the opposing gap.
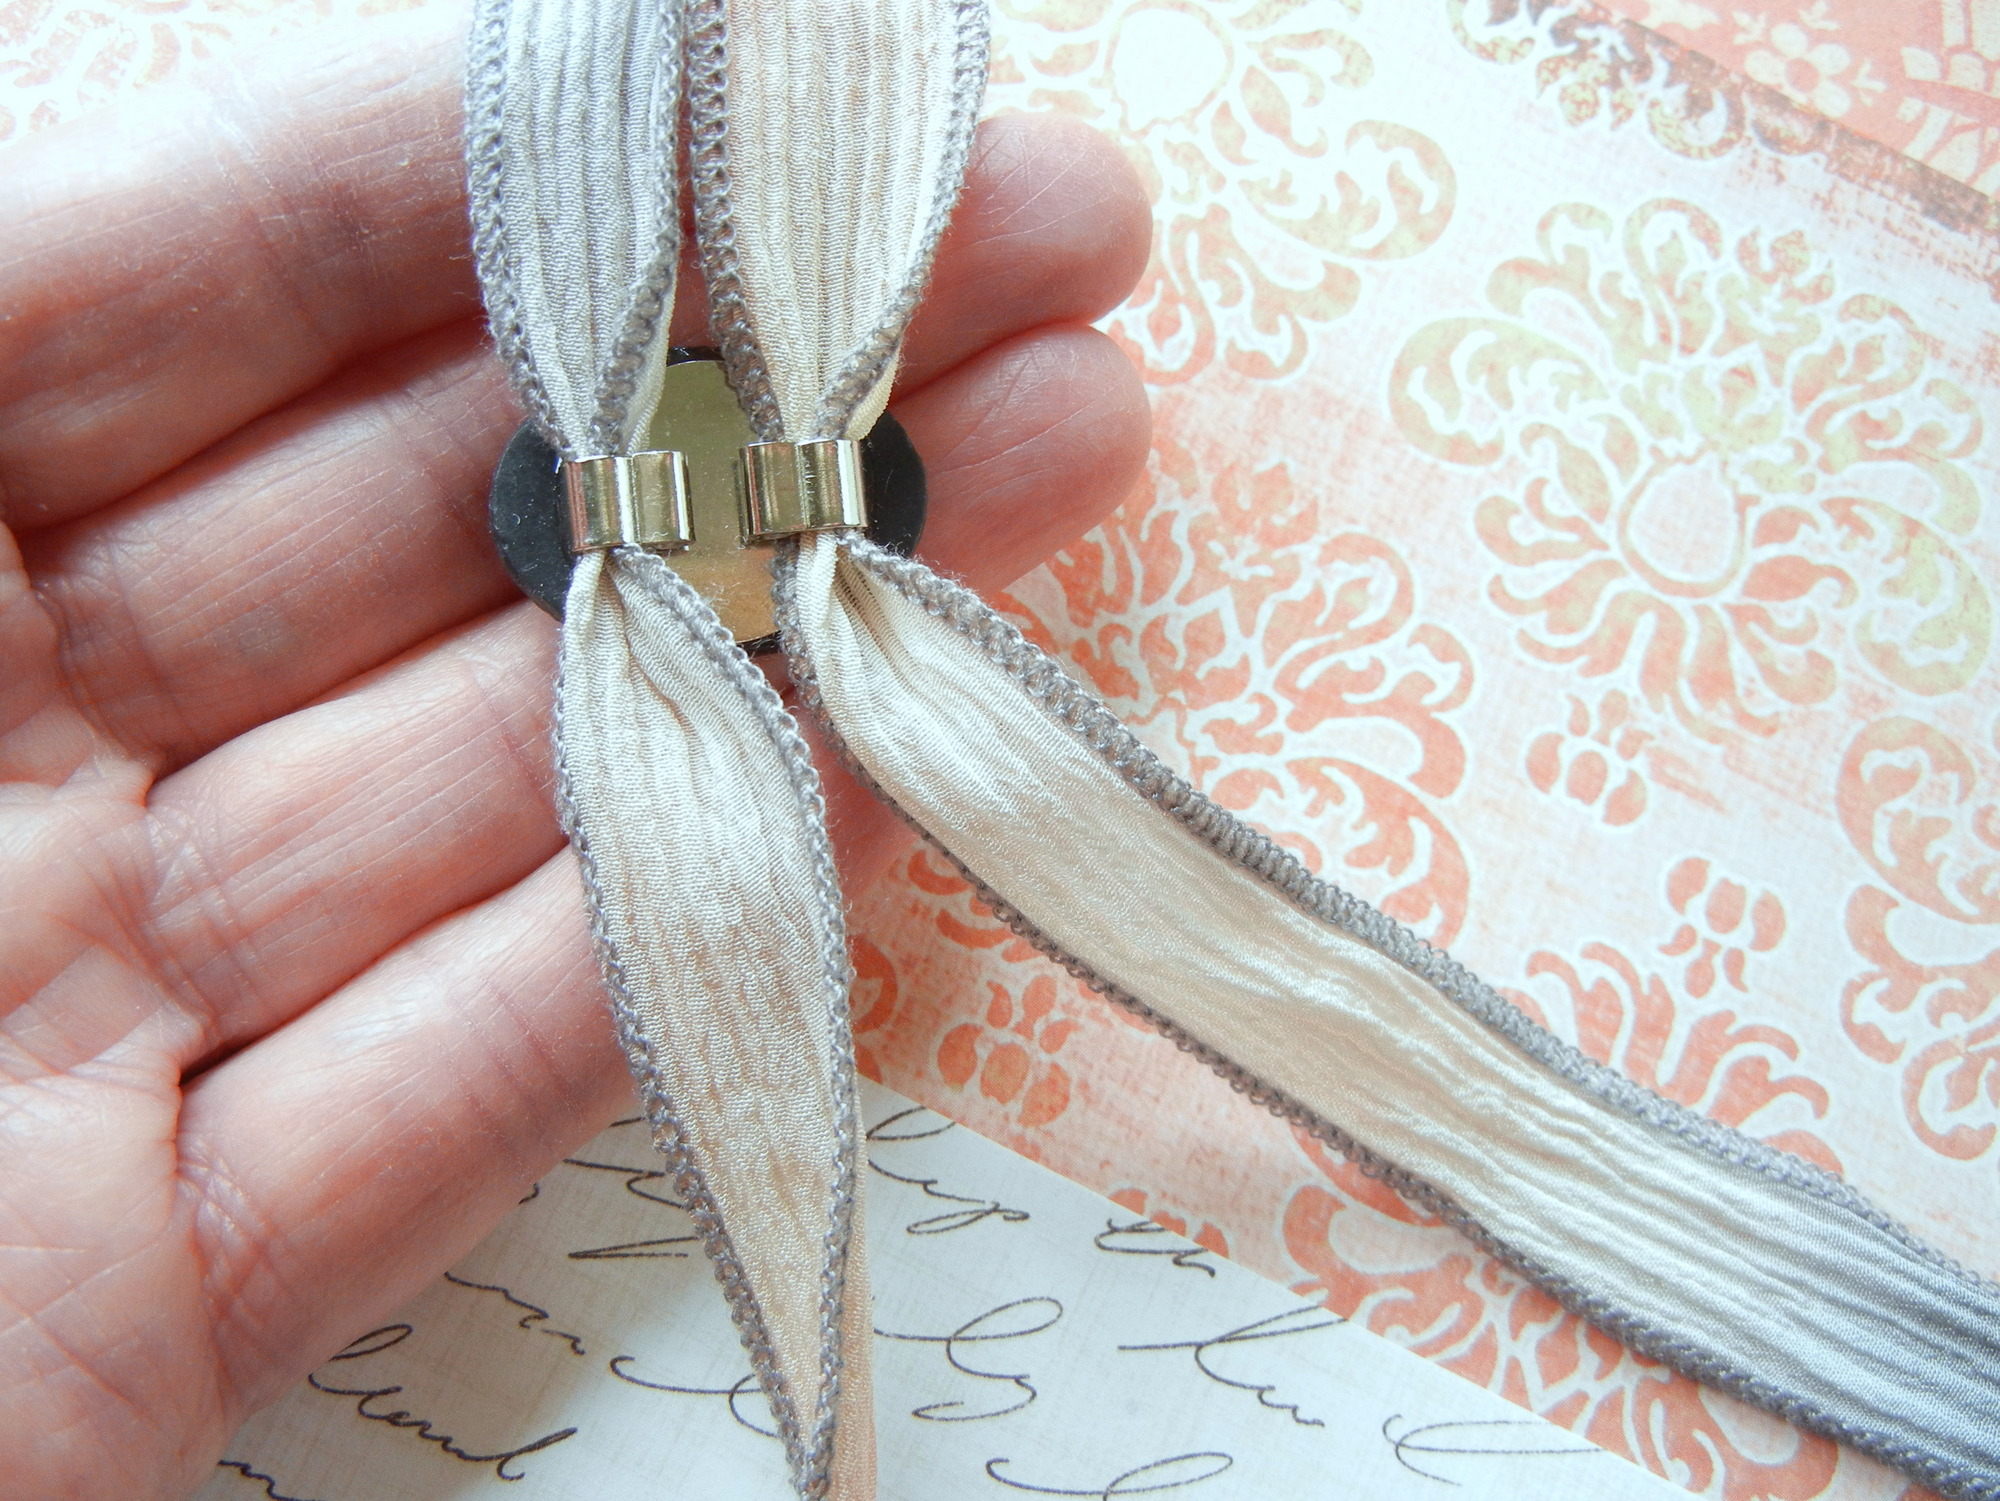
Listed here is the adjusted ribbon in the bolo slide.
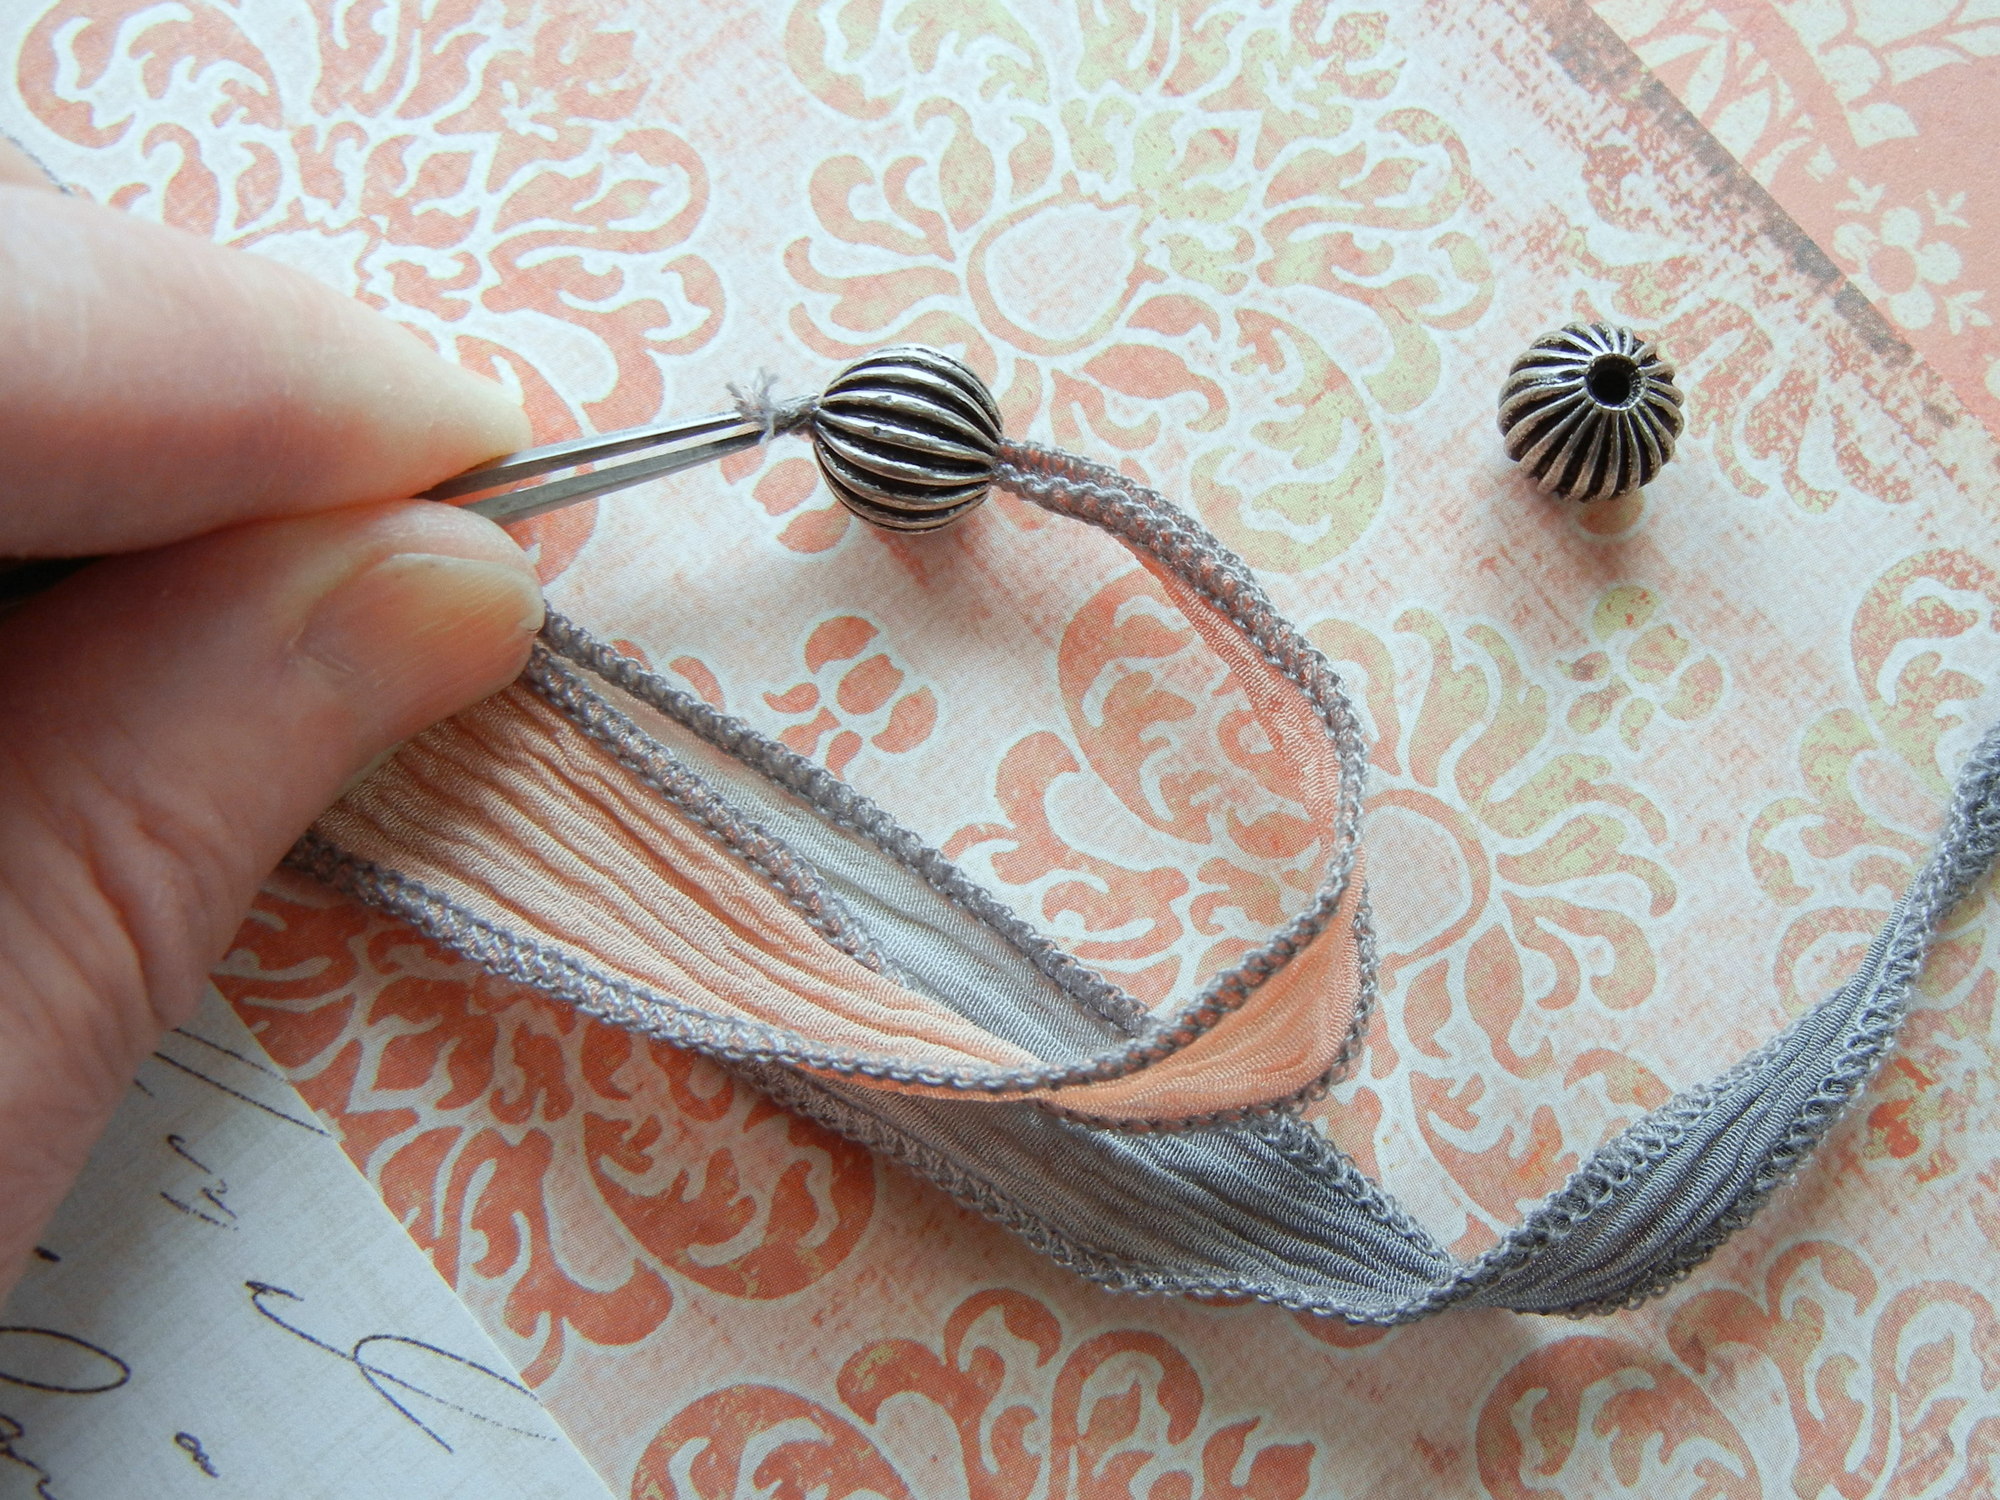
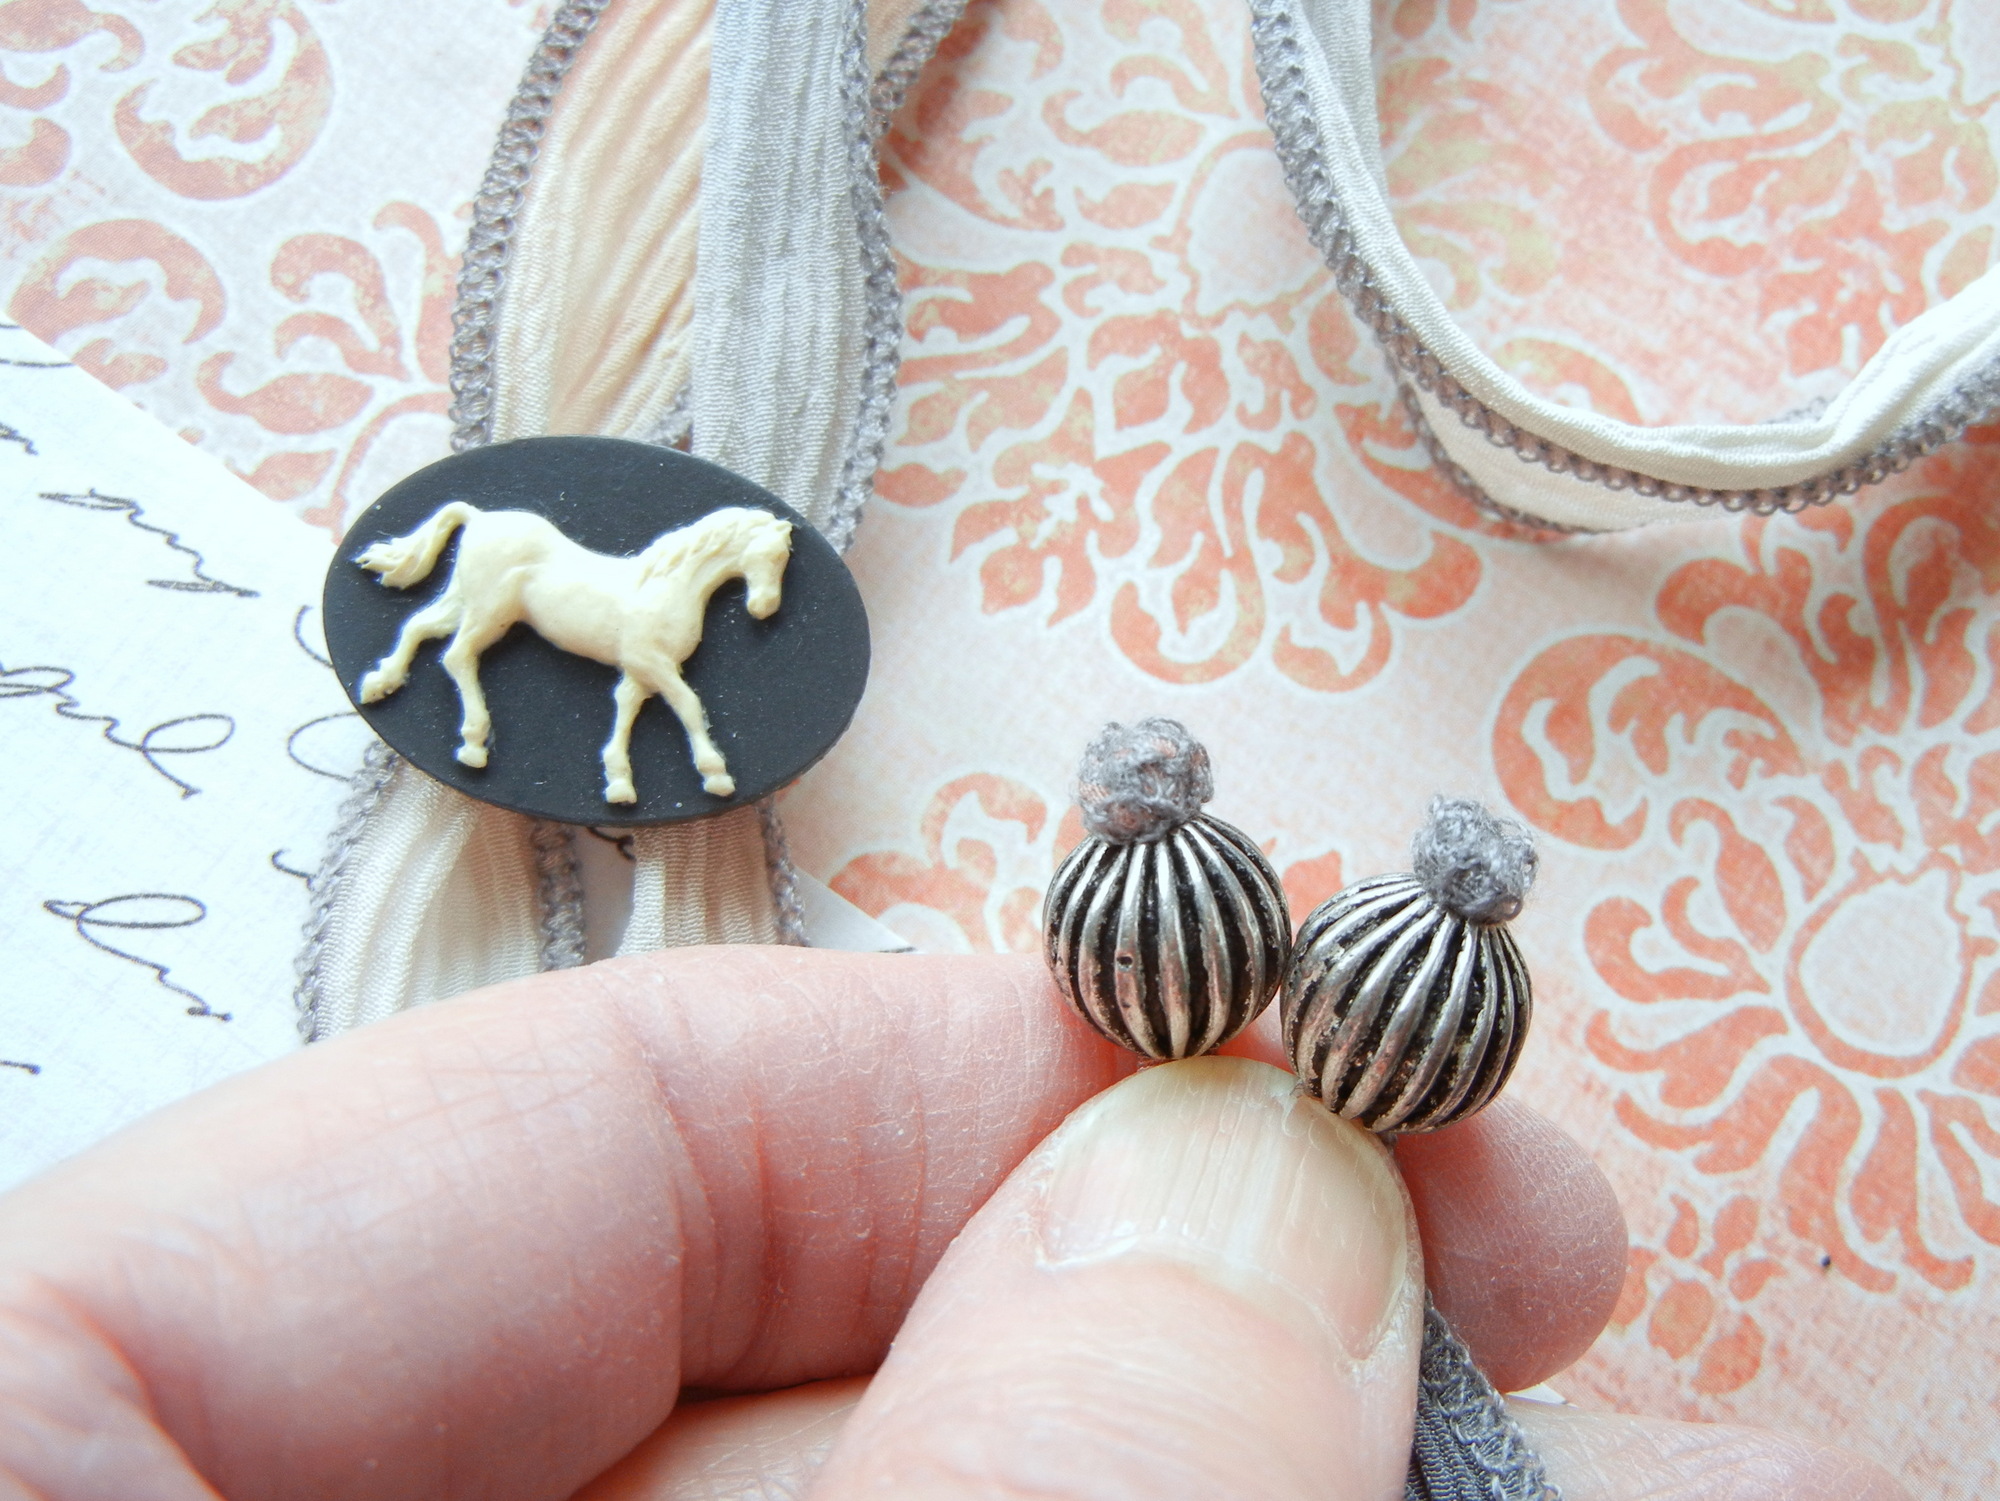
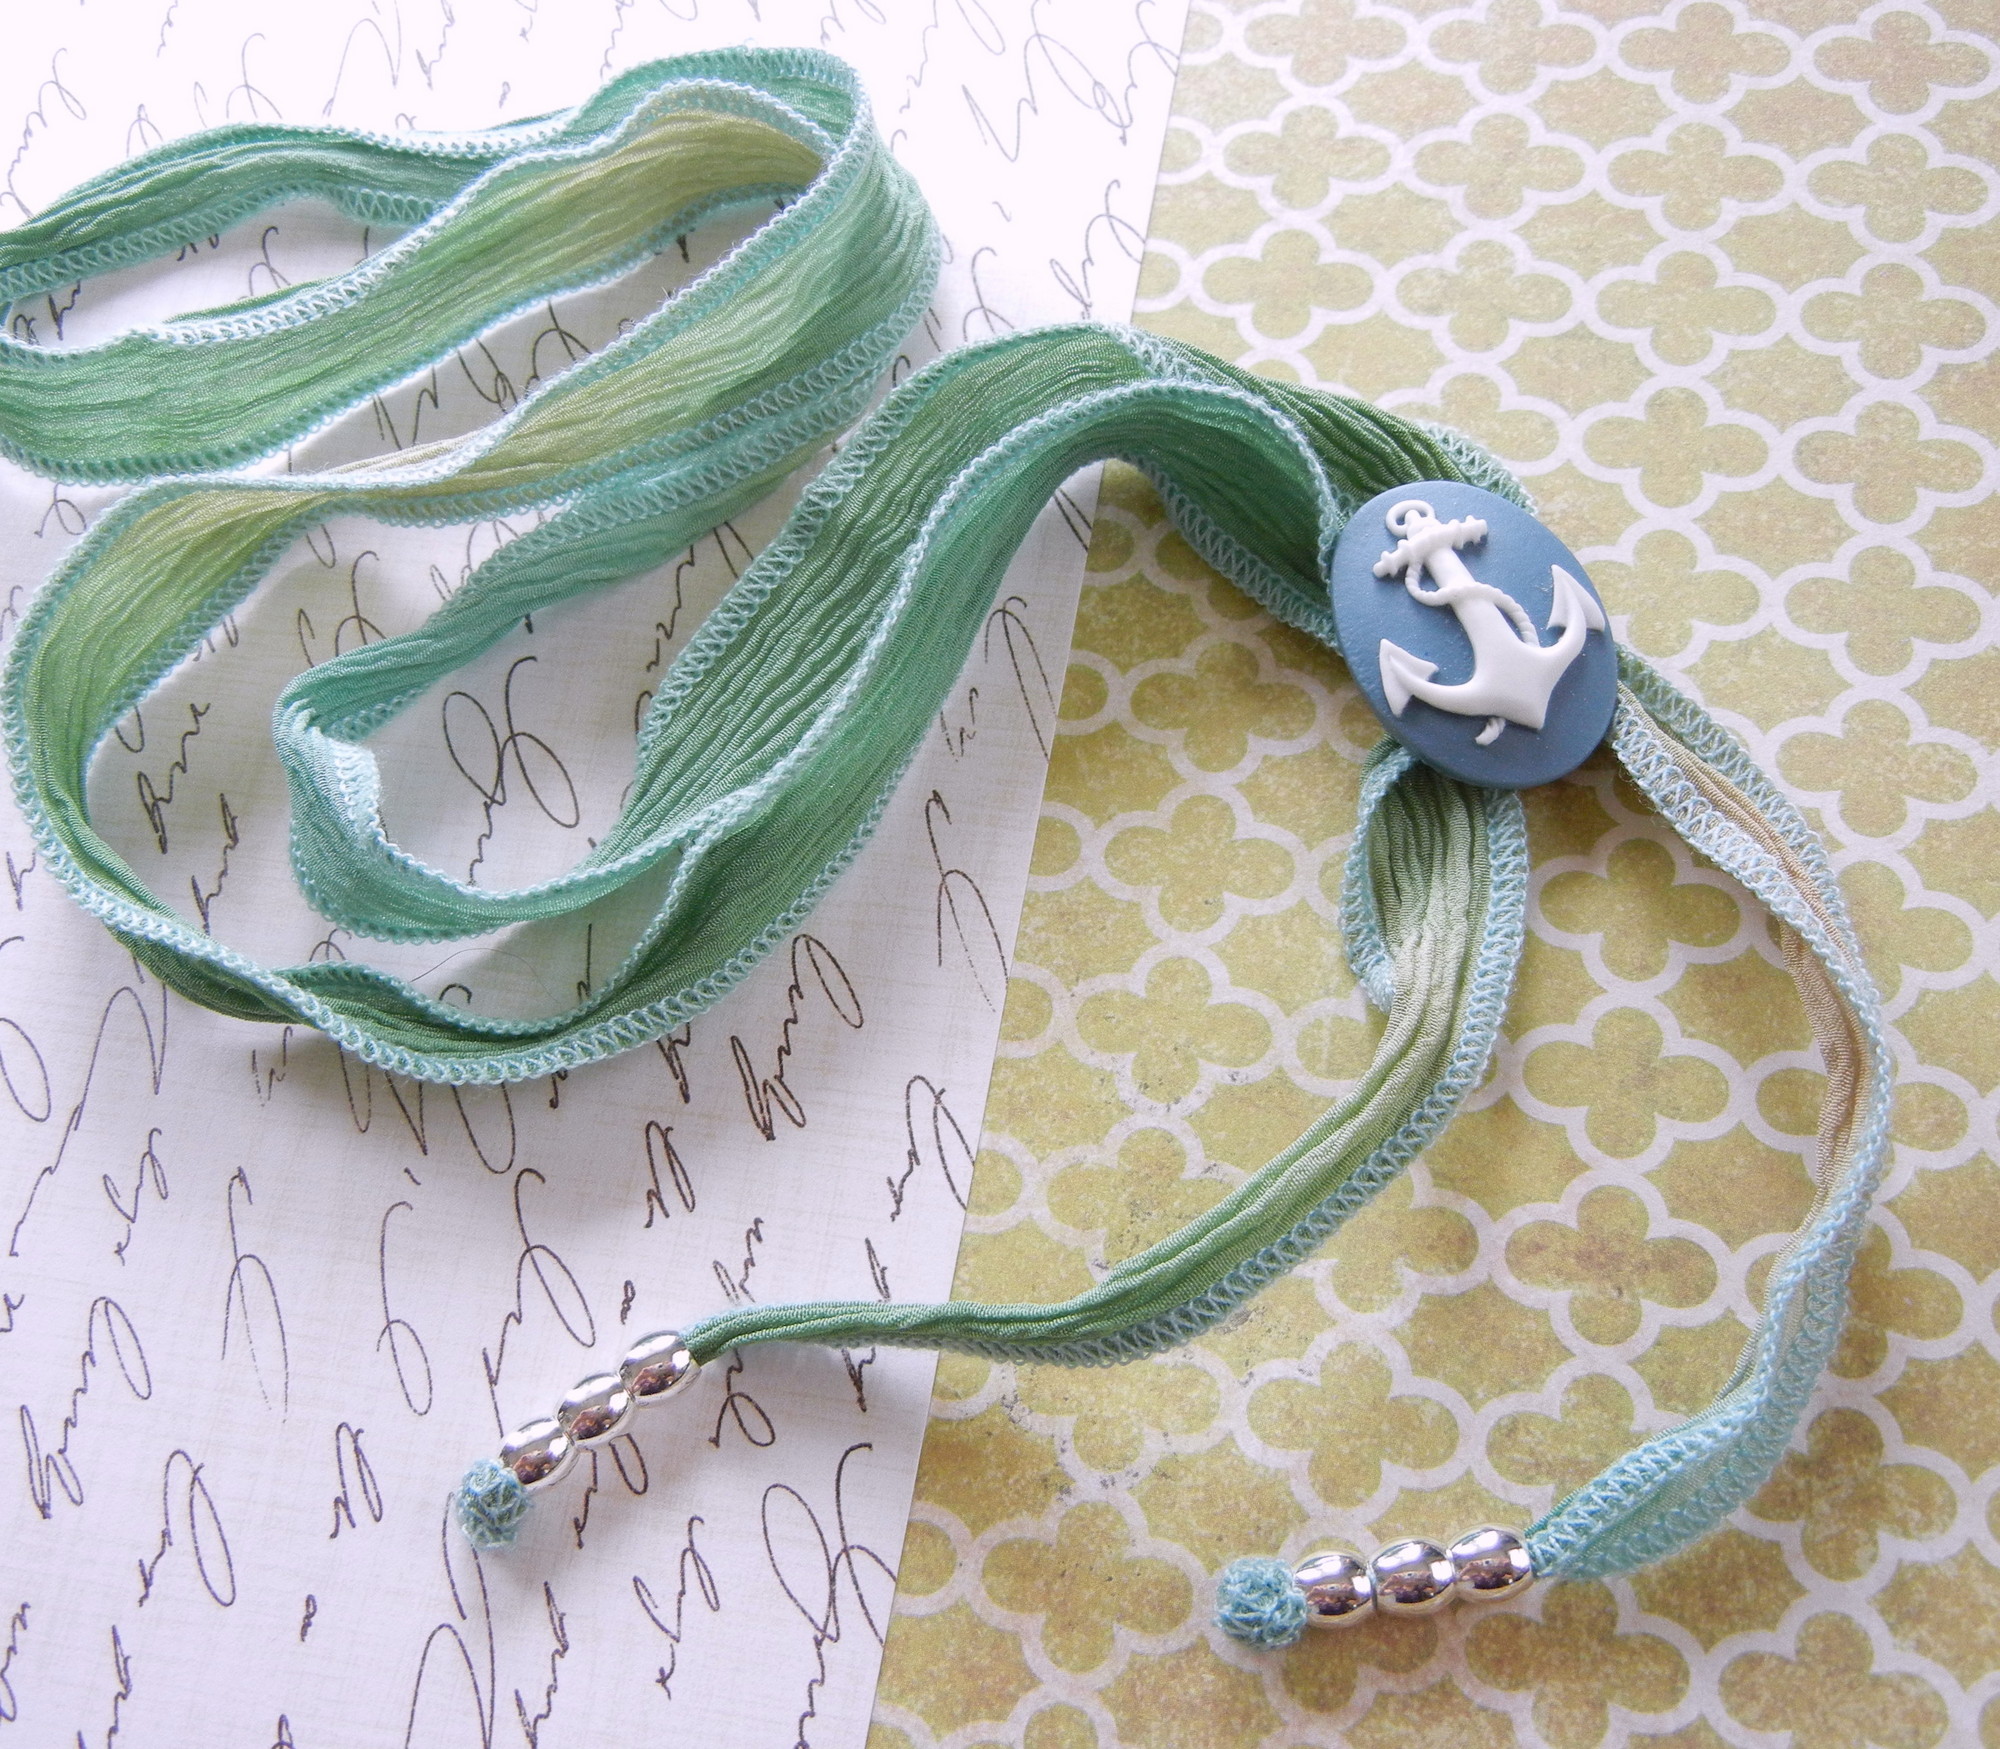
To increase decoration and fat, end the ribbon finishes with two substantial-gap beads. String a bead on to the conclude of the ribbon relying on the length of the bead, you may need to have to use beading tweezers for this process.
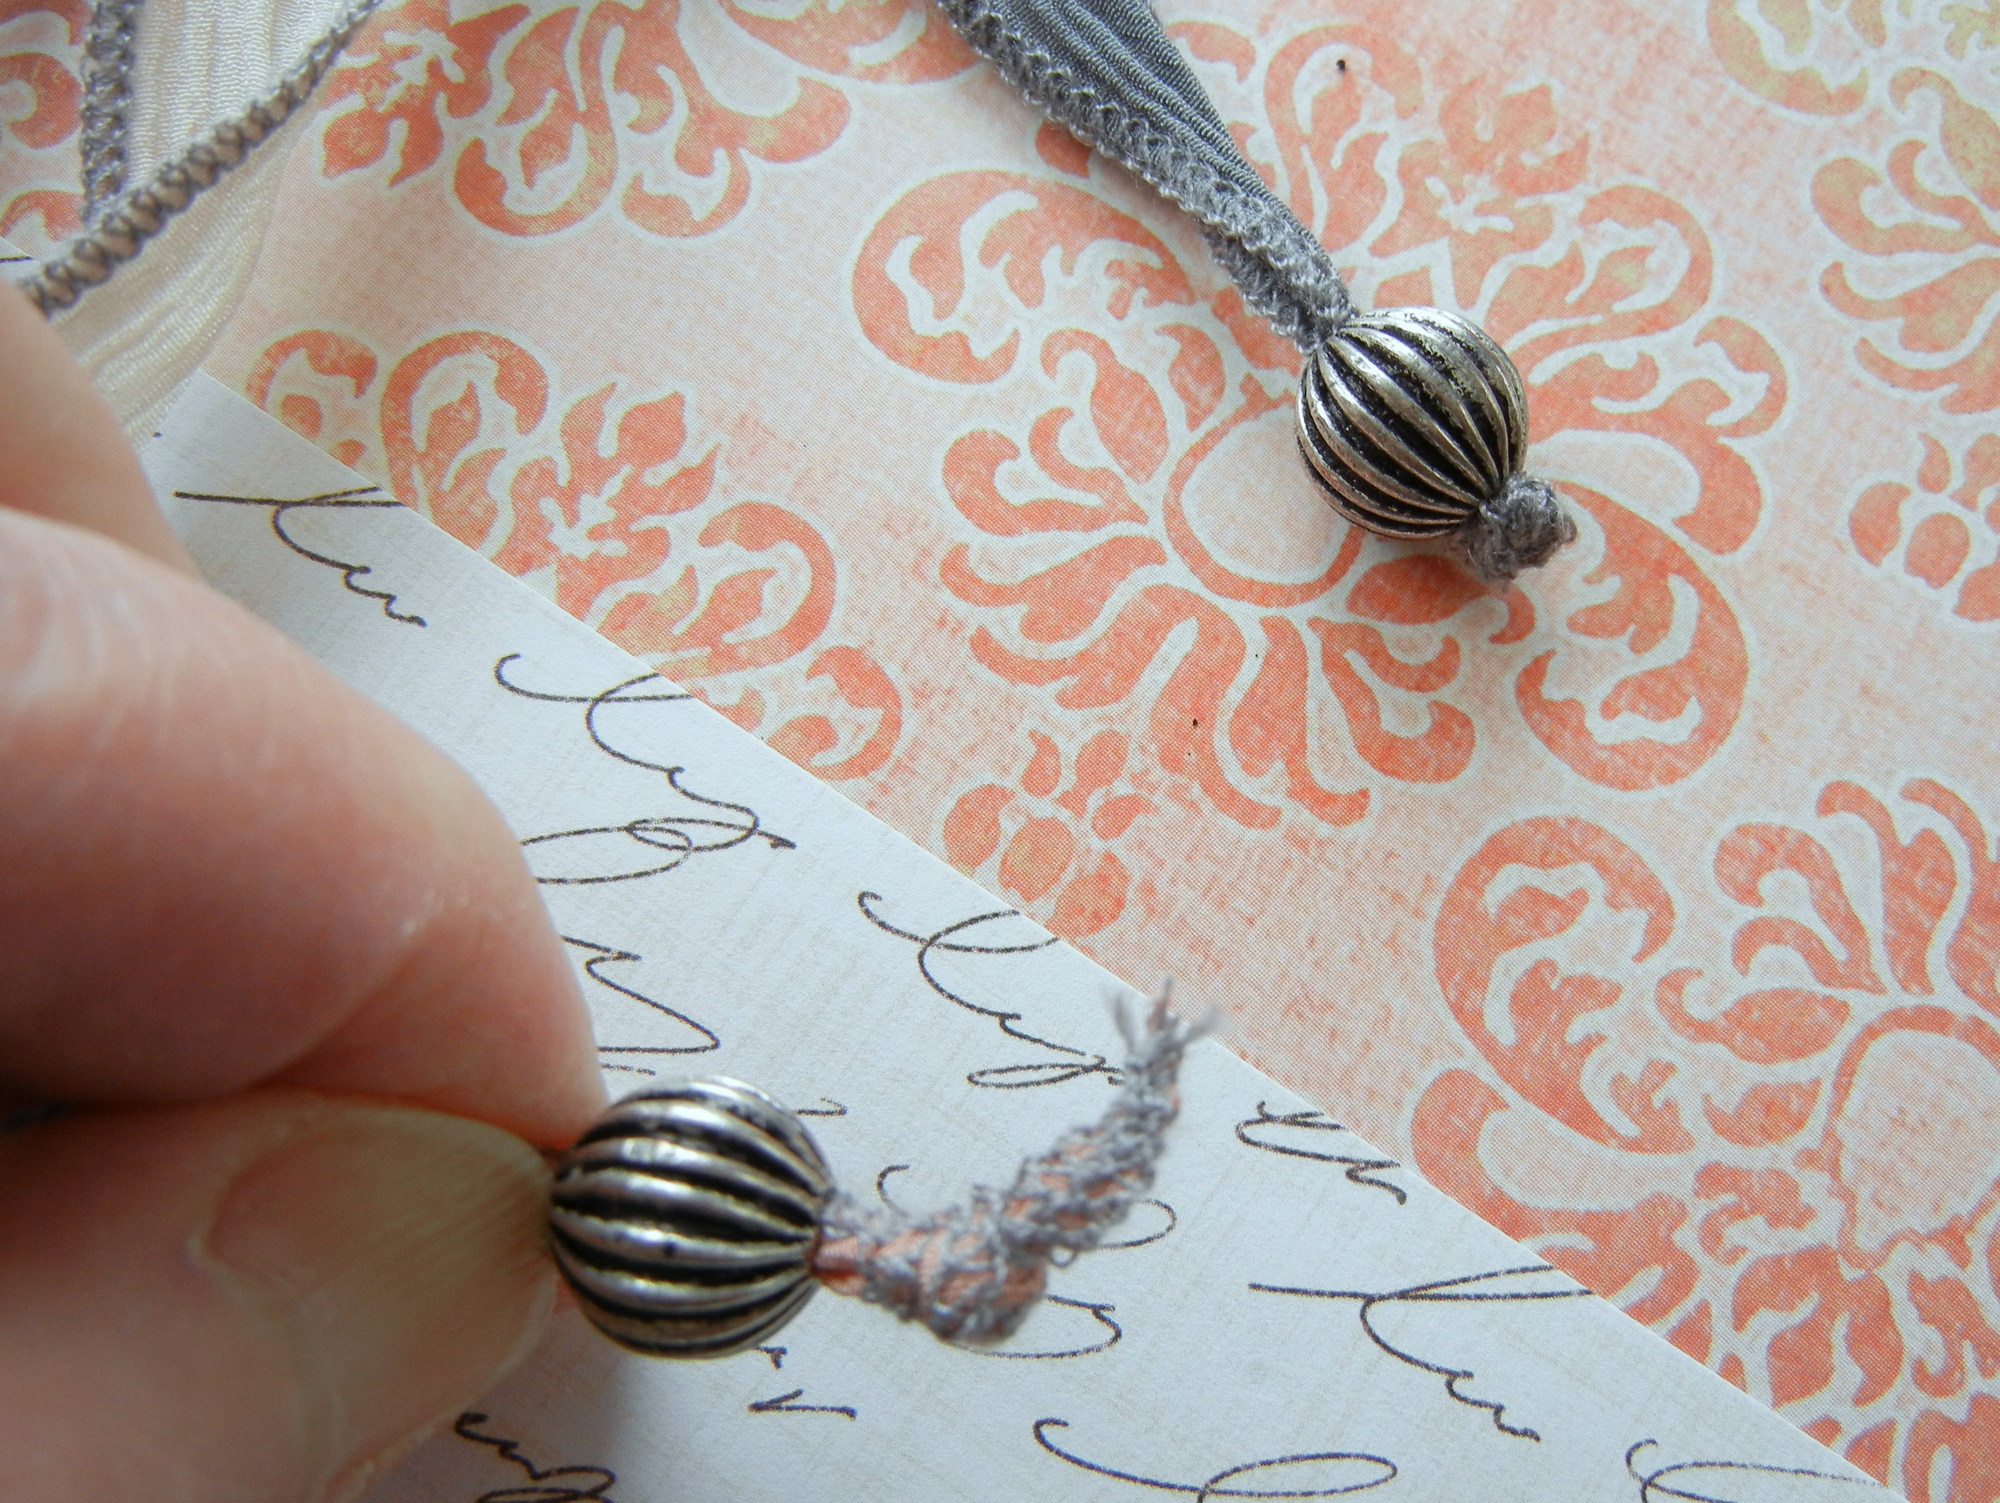
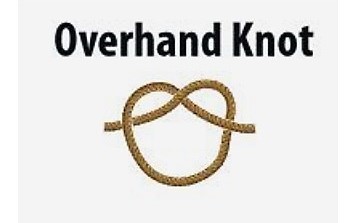
Tie an overhand knot about 1/2 inch from the conclusion of the ribbon and tighten the knot. Fold the ribbon tail in excess of and tuck it into the ribbon on the other aspect of the knot. Carefully pull the bead up against the knot though pulling the ribbon tail into the bead hole (poking with beading tweezers could help with this undertaking).
Listed here are the completed beaded-bauble finishes. This ending technique is easy, clear, and eye-catching.
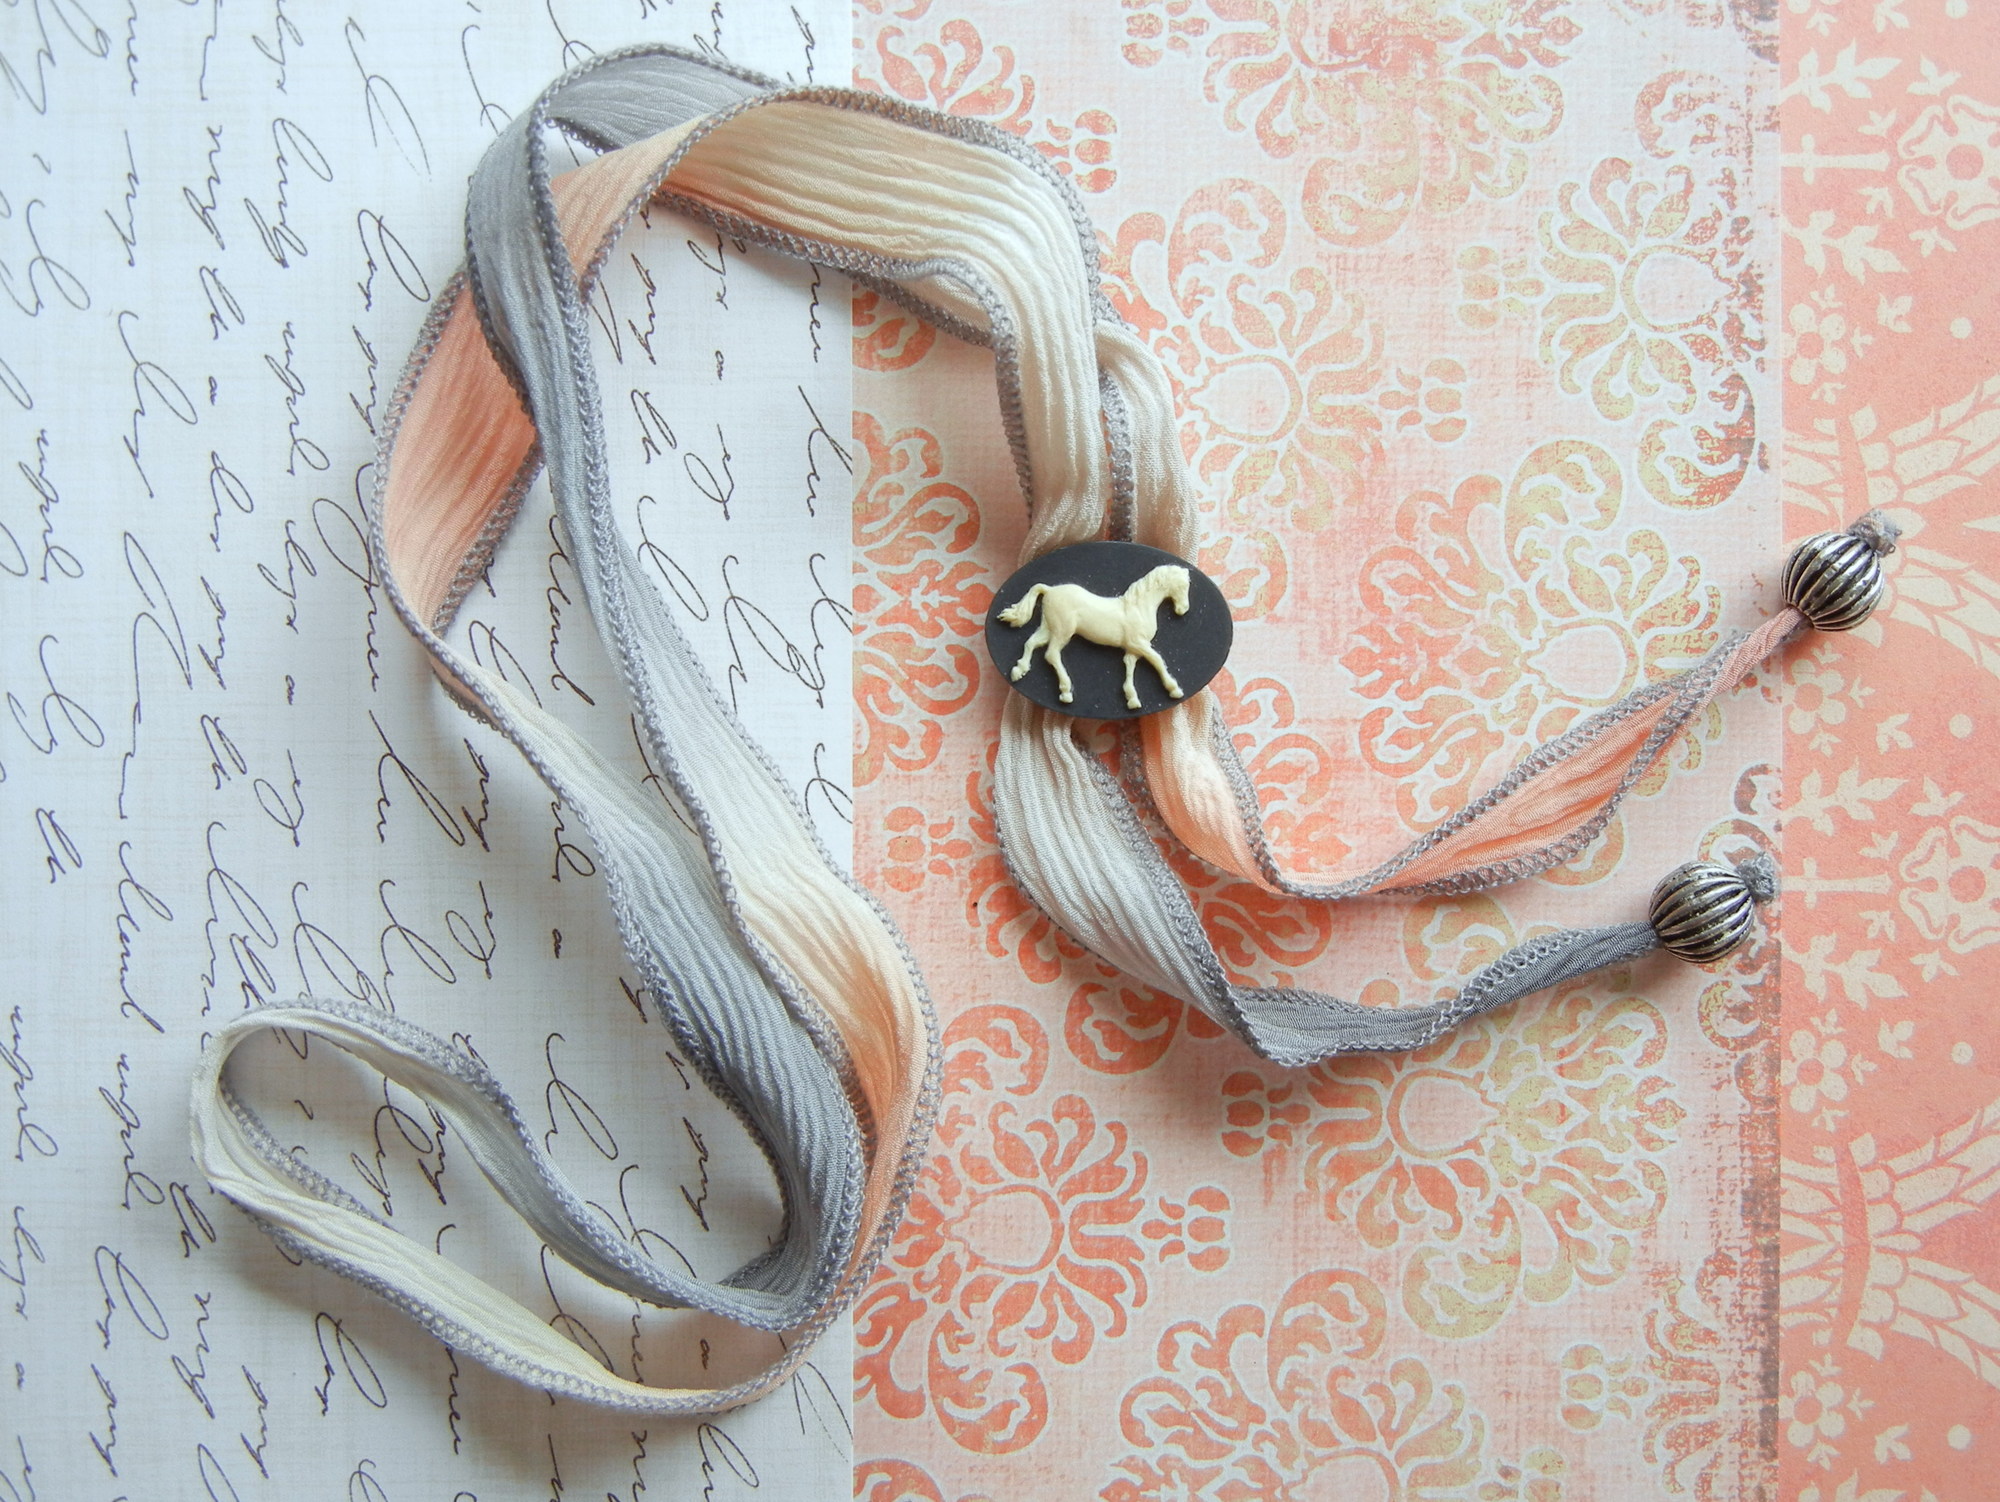
“Sundance” Bolo Tie Necklace by Rings & Things designer Mollie Valente.
“Panama” Bolo Tie Necklace by Rings & Matters designer Mollie Valente.
Make Factors,
Mollie

More Stories
Grocery trends, holiday commercials, and Super Saturday
New Anastasia Beverly Hills Rose Metals Eyeshadow Palette Review
What is Micellar Water and Why is Every Makeup Guru Recommending It?